What to Know About Google’s Default Lookback Attribution Window


If you’ve ever wondered how Google assigns credit for conversions based on ad performance, the answer is attribution models.
We’ve got a full post going over Google Ads attribution models, but as a quick recap, Google will use one of several different models to assign attribution of a conversion to an ad (or ads) accordingly. The credit may go to the ad the user first clicked, or one that they last clicked, or a combination of all the ads clicked during their journey.
That doesn’t mean, however, that if a user clicks on your ad now and then doesn’t convert for two years that it will get the attribution. That actually won’t be the case due to lookback windows.
In this post, we’re going to discuss everything you need to know about Google Ads lookback windows, including the default option and how to customize yours.
What is A Google Ads Lookback Window?
We know that there are different types of attribution models for Google Ads that determine how Google will give credit to your individual ads for conversions. This is important for optimization and for conversion tracking.
The attribution model you choose isn’t the only part of the equation though. Lookback windows also play a vital role here.
Your lookback window is the period of time in which the ad manager will track an action as contributing to a conversion, if it aligns with your attribution model.
So, let’s say your lookback window is set to 30 days and you’re using the first-click attribution model. A user clicks on your ad. 32 days later, they click on a second ad and convert.
That first ad will not be credited for the conversion, because it falls outside the lookback window. The second ad will get the credit here because it was the first ad click within the lookback period.
There are technically two different lookback periods. One is for clicks, and one is for impressions, and each is set uniquely in varying periods from one day to thirty days.
Why Your Lookback Attribution Window is Essential
Knowing what your lookback periods are is crucial.
For some businesses, it makes sense to have a 30-day lookback window. For others with much longer customer journeys, however, 30 days won’t cut it and you need to expand it out to the full ninety.
If you have a longer consideration window, you’ll be shooting your own reporting in the foot by not taking that into consideration. You could be keeping yourself from getting vital data that’s needed in order to understand which ads are actually impacting customer purchases.
Google’s Default Lookback Windows & What to Choose
Google’s default attribution model is the last-click model. This means that the last click on an ad before the conversion is what will get the credit.
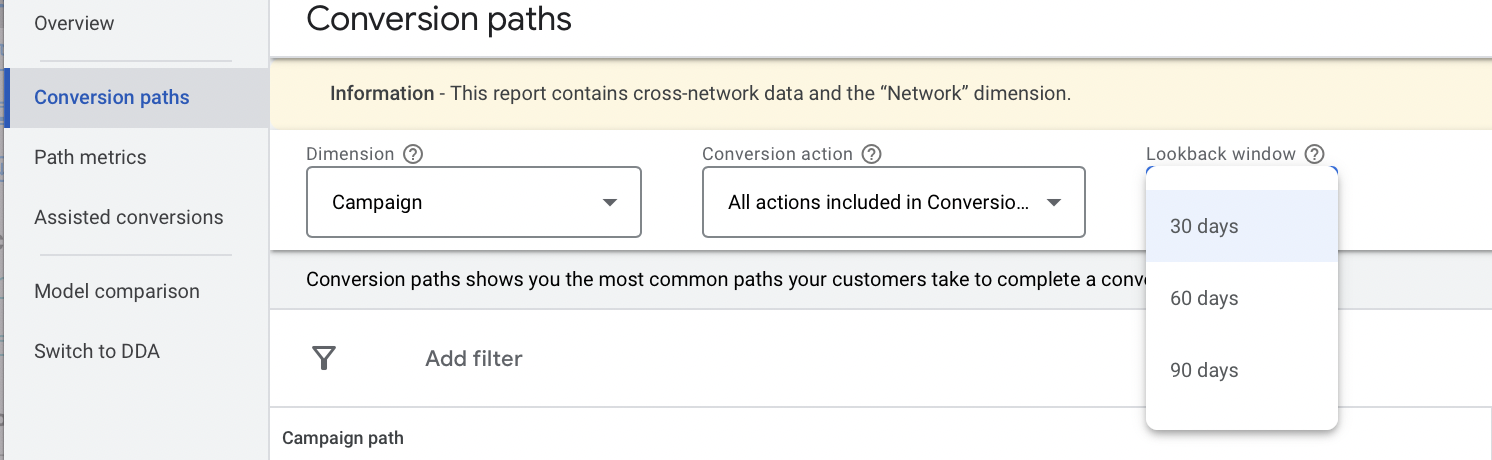
Google’s default is a 30-day lookback window. You can set your lookback window to any specific date from 1-30 days, or set it to 60 days or 90 days. We’ll show you how to do this in just a minute.
When viewing the Attribution tab in Google Ads, you can view data from 60-day and 90-day lookback windows even if your lookback window is set to other options.
In most cases, we typically recommend sticking to the default 30-day window.
The exception, of course, would be if you have an extremely long sales cycle and a large percentage of your purchases would take longer than 30 days.
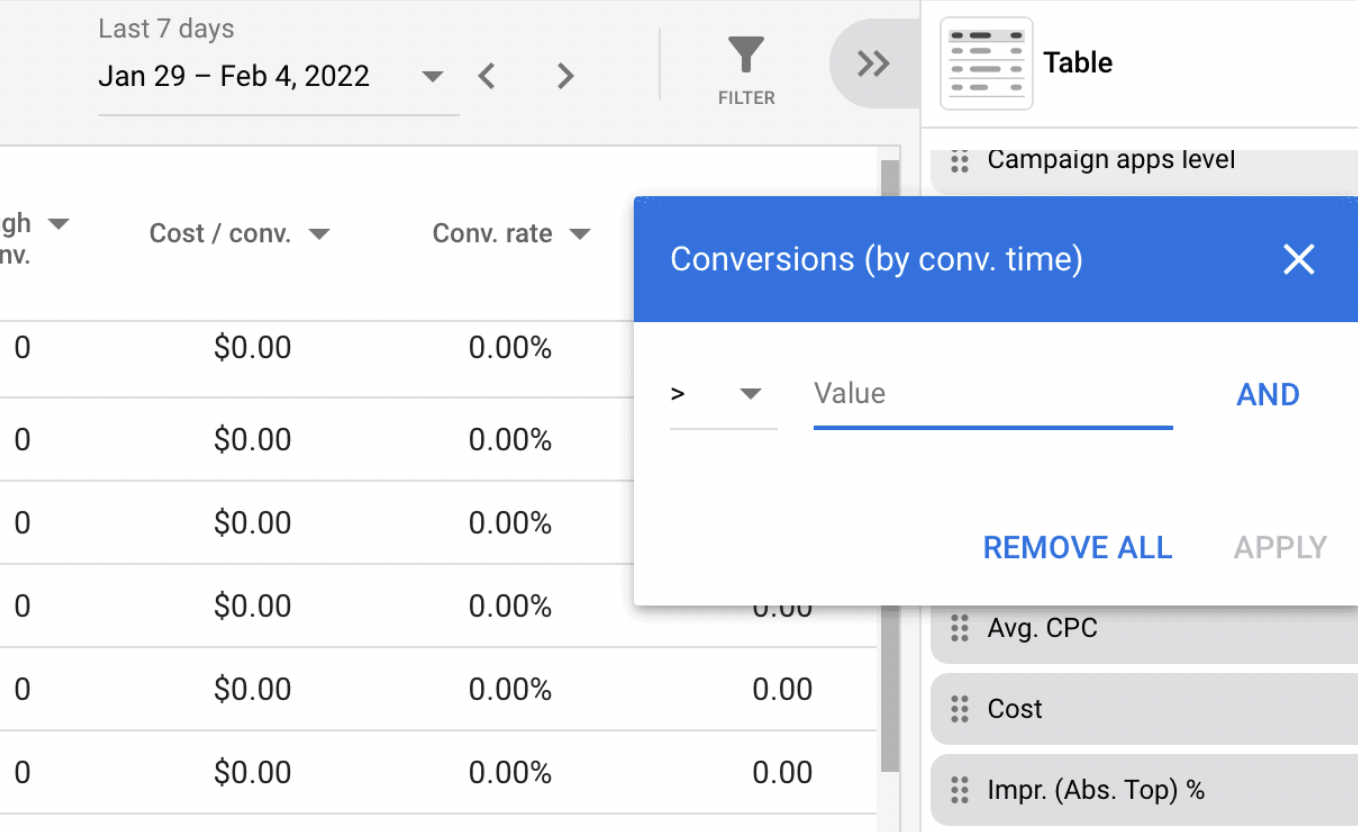
The only downside to using a longer attribution lookback window, however, is that the account data can end up “lagging.” This means you’ll need to rely more on the conversions by conversion time metrics compared to just the standard conversion metrics to get an accurate assessment of what’s happening with your campaigns.
How to Customize Your Lookback Attribution Windows
You can customize your lookback attribution windows for each individual conversion type you’re optimizing for.
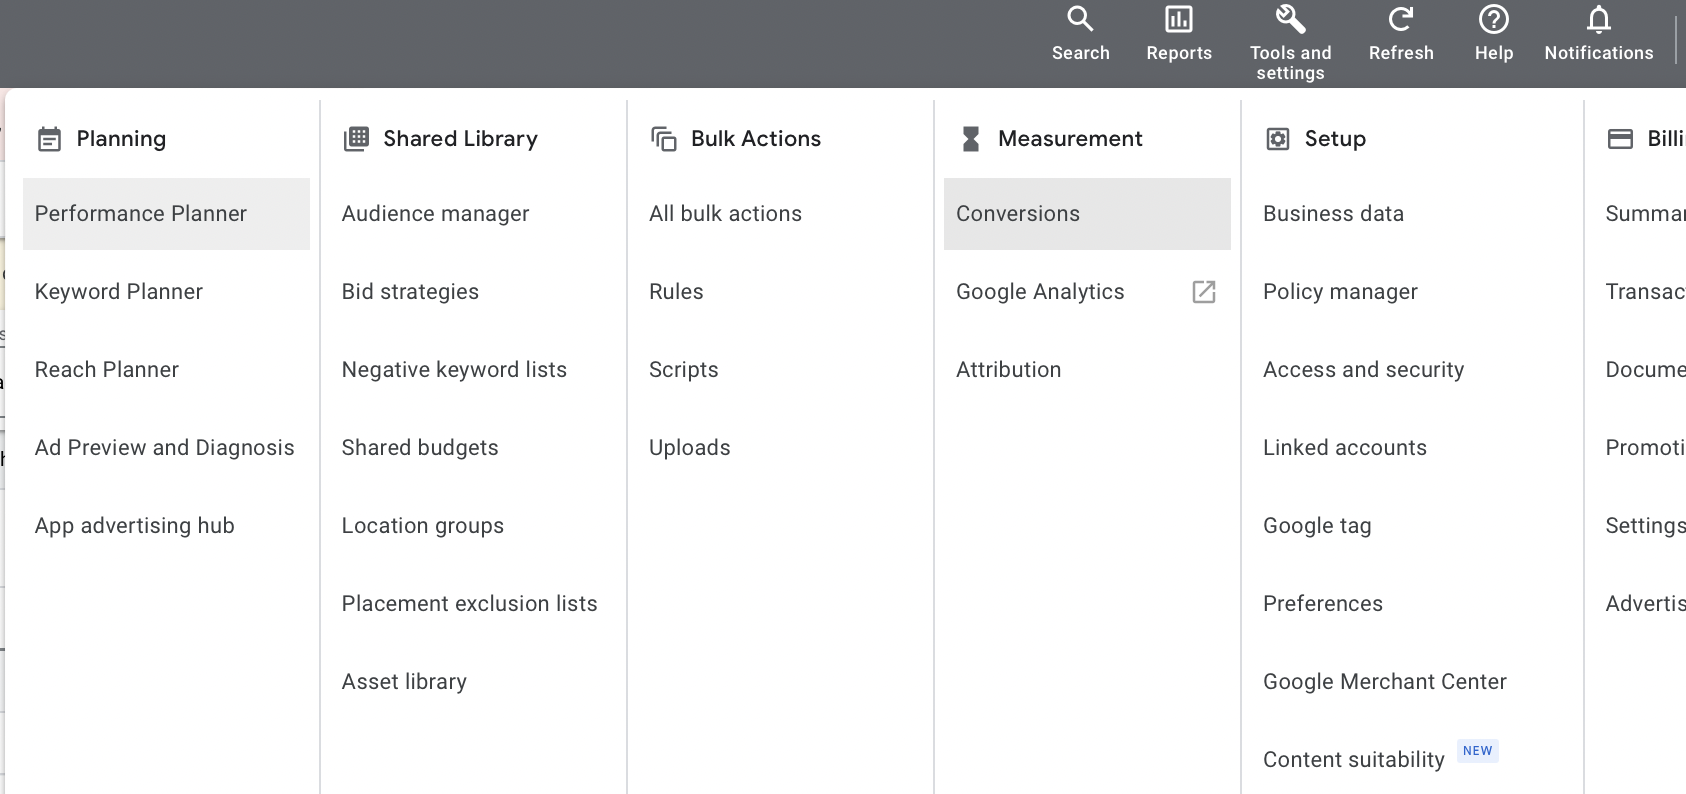
To do so, go to “Tools and Settings” in the Ad Dashboard, and then find “Conversions.”
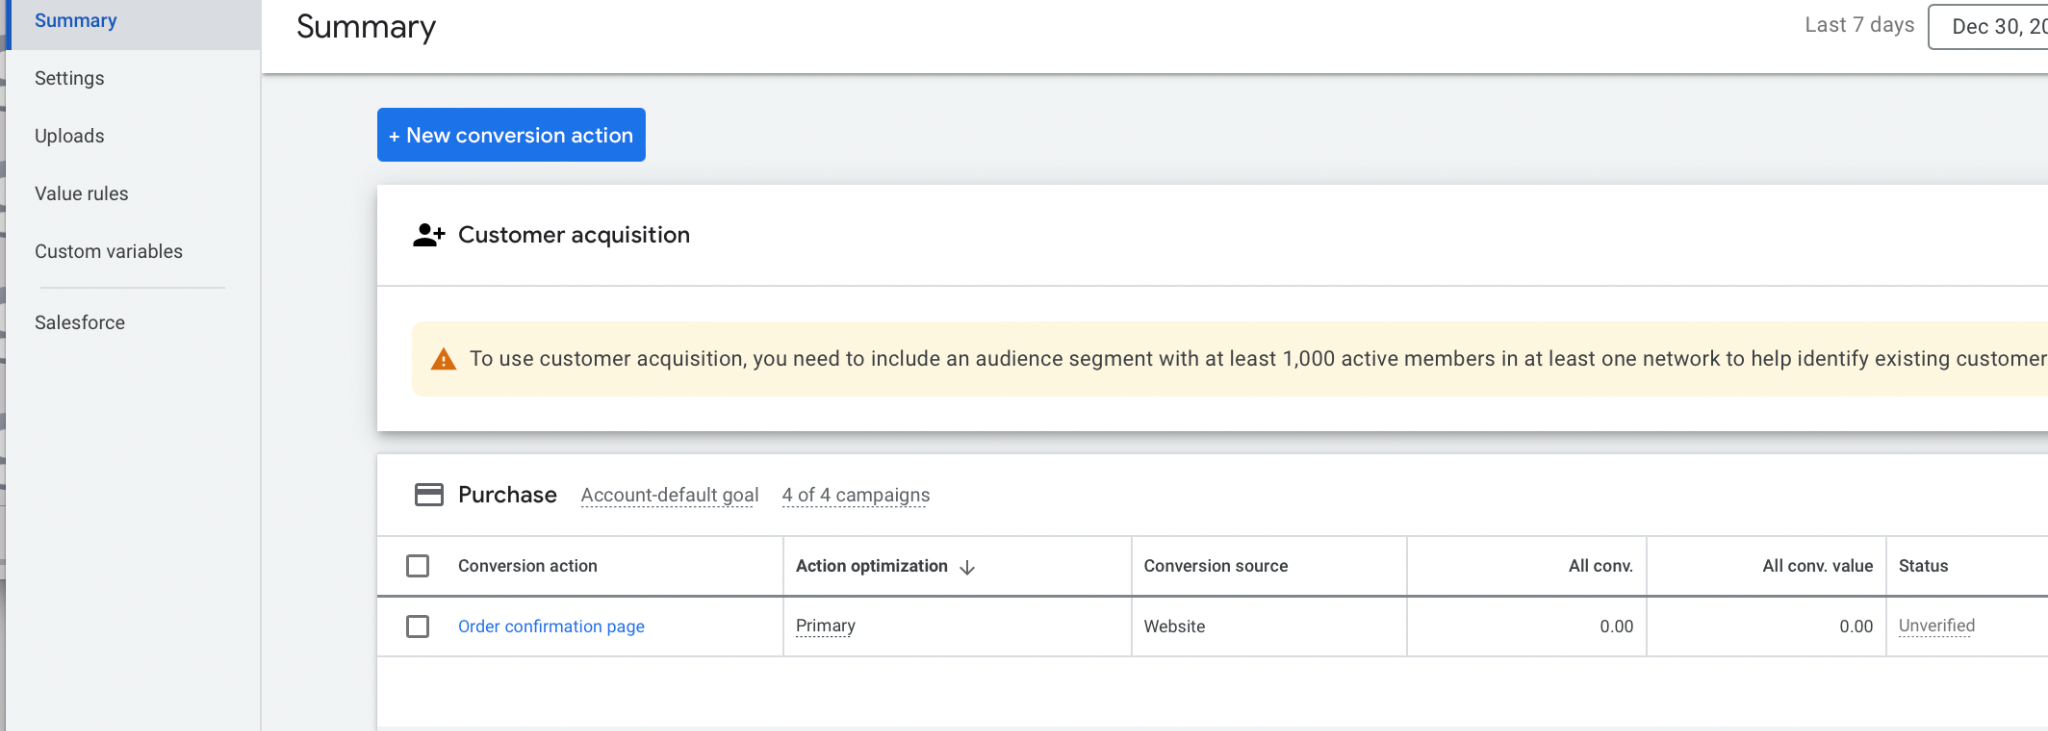
You’ll then see a list of different conversion actions that you’ve created. Click on the specific conversion action you want to change.
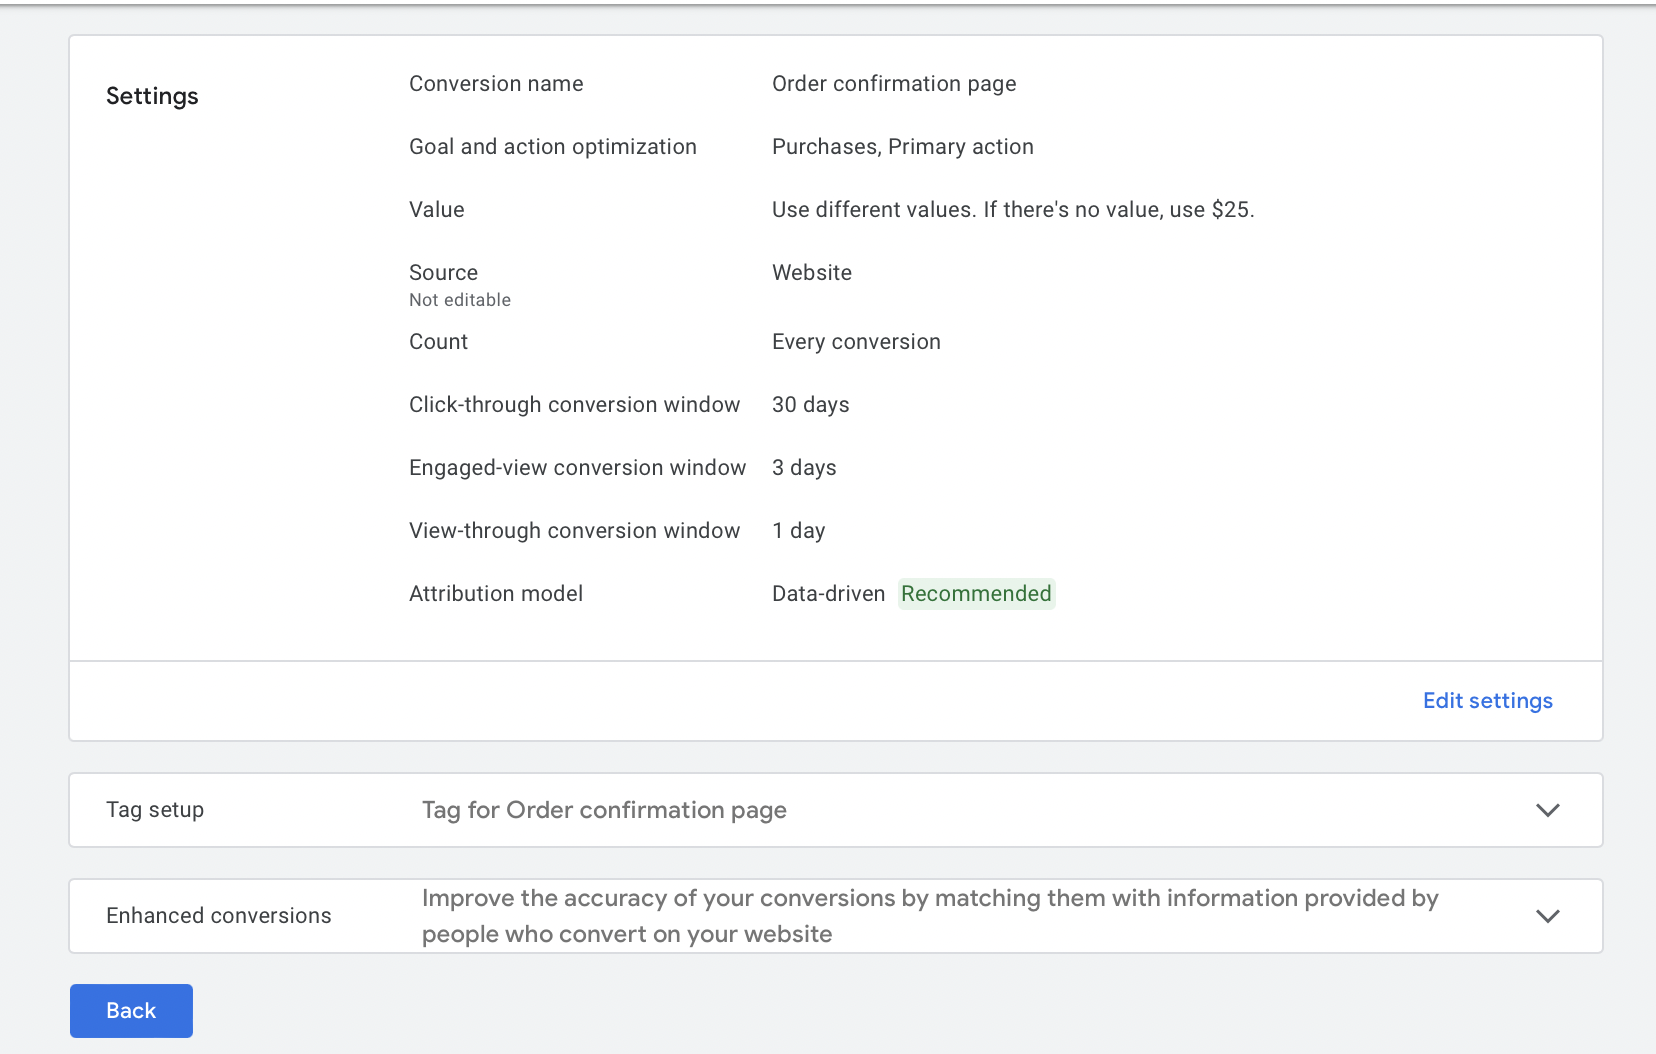
This opens up a page with all the information about the conversion type. You’ll see different types of conversion windows, and the different windows available.
In this case, you’re seeing the default attribution windows for purchase campaigns, with 30-day click-through conversion windows, 3-day engaged-view conversion windows, and 1-day view-through conversion windows. To edit these options, click “Edit Settings” in the bottom right hand corner.
You can open the drop-down menu next to each type of conversion window, and then set it to your preferences. As we mentioned before, 30-days for click-through conversions is typically a good choice, but you can always test other lookback windows to see how well they work for your business.
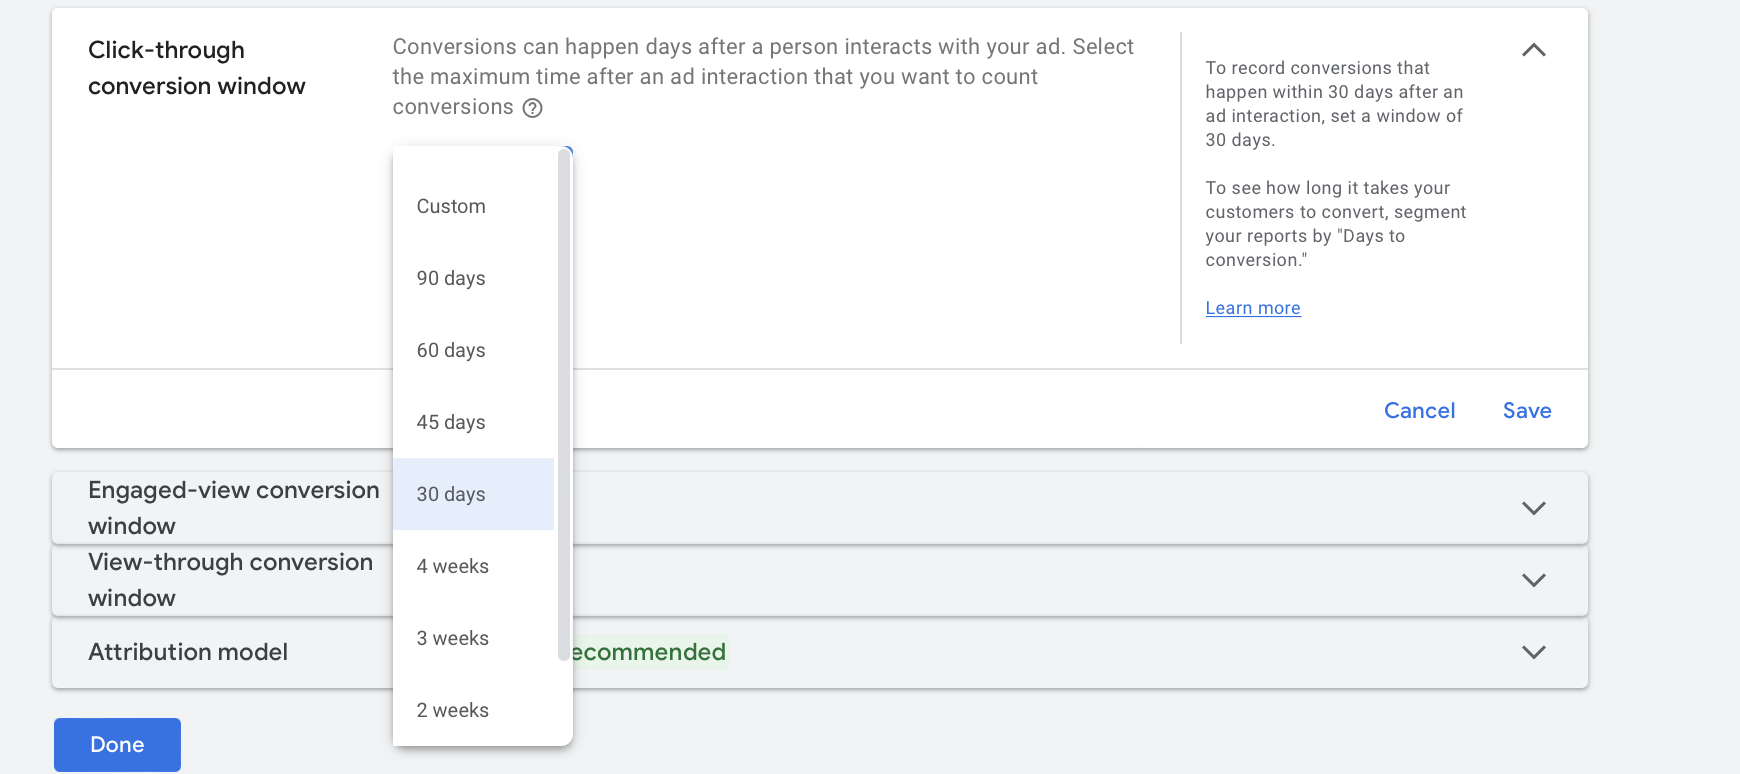
You can set each individual type of conversion window manually. Once you’re done with each, click on the “Save” button under the tab of anything you’ve changed, and then click “Done” at the bottom of the page.
Remember that you’ll need to set custom lookback windows (if you want them) for each individual conversion type; changing one will not impact the others.
Final Thoughts
Ultimately, lookback attribution models aren’t a super technical topic.
Almost all of our clients have the default 30-day lookback window for click-through conversions, and the standard 1-day and 3-day lookback windows for view-through and engaged-view conversions, respectively.
That being said, it’s useful to understand how attribution windows can impact your conversion reporting. And, in some cases, there are brands that have particularly long buying cycles. Going in and manually adjusting the conversion lookback windows can go a long way to helping you get more accurate conversion data and better optimization moving forward.
Remember, too, that you can always change your attribution models or your lookback windows if they aren’t working for you.
Want to learn more about Google Ads attribution? Check out our full post here!
