How to Set Up Your Google Merchant Center Account


You’re ready to start setting up your Google Merchant Center account! Congratulations!
This will allow you to better promote your inventory across Google’s ad space. And the good news is that it’s relatively easy when you know what has to be done!
In this guide, we’re going to walk you step by step through the process of how to set up your Google Merchant Center Account.
What Is Google’s Merchant Center & Why Do You Need An Account?
Google’s Merchant Center is an eCommerce- and retail-focused tool that allows you to manage how your in-store and online product inventory appears in Google Ads and in shopping features.
If you want your products to show up in Google’s shopping features (organically or otherwise), you need to be using Google’s Merchant Center. And since the shopping search is used by hundreds of millions of people who are high-intent shoppers regularly, this is something you want to jump on.
From a practical standpoint, this is an essential way to scale your campaigns and your reach if you’re promoting physical products in any capacity on Google. If you’re an eCommerce brand using Shopping Ads, this is also an absolute must-do.
Keep in mind that Google’s Merchant Center is entirely free in and of itself, and it can help you gain more reach while also giving you an abundance of actionable data. That’s a win-win.
Now let’s look at how to set up Google Merchant Center account and get started.
Know the Merchant Center Guidelines
Before you actually get started with the Merchant Center, it’s important to know how to play by the rules first. We’re going to look at Google’s guidelines before we dive into how to set up Google’s Merchant Center account.
You review all of their essential guidelines here, but these are the basics:
- Only promote products that are available for direct purchase
- Use an official language
- Make your return and refund policy clear
- Collect user information in a secure and responsible way
- Follow general Google marketing policies
- Verify and claim your site URL (we’ll show you how to do that in this guide)
- Maintain website requirements
- Sign in to your Merchant Center account regularly
- Have data that meets the data specifications
Take a look at all the details at that link above, and then let’s get started!
Have a Google Account
Do you have a Google account yet? If not, you’ll need to get one. You actually can’t get a Merchant Center account without a Google Account.
You need to do this before you can set up a merchant center account. Once you do, head to the next step.
Create a Merchant Center Account
Time to create that Merchant Center account!
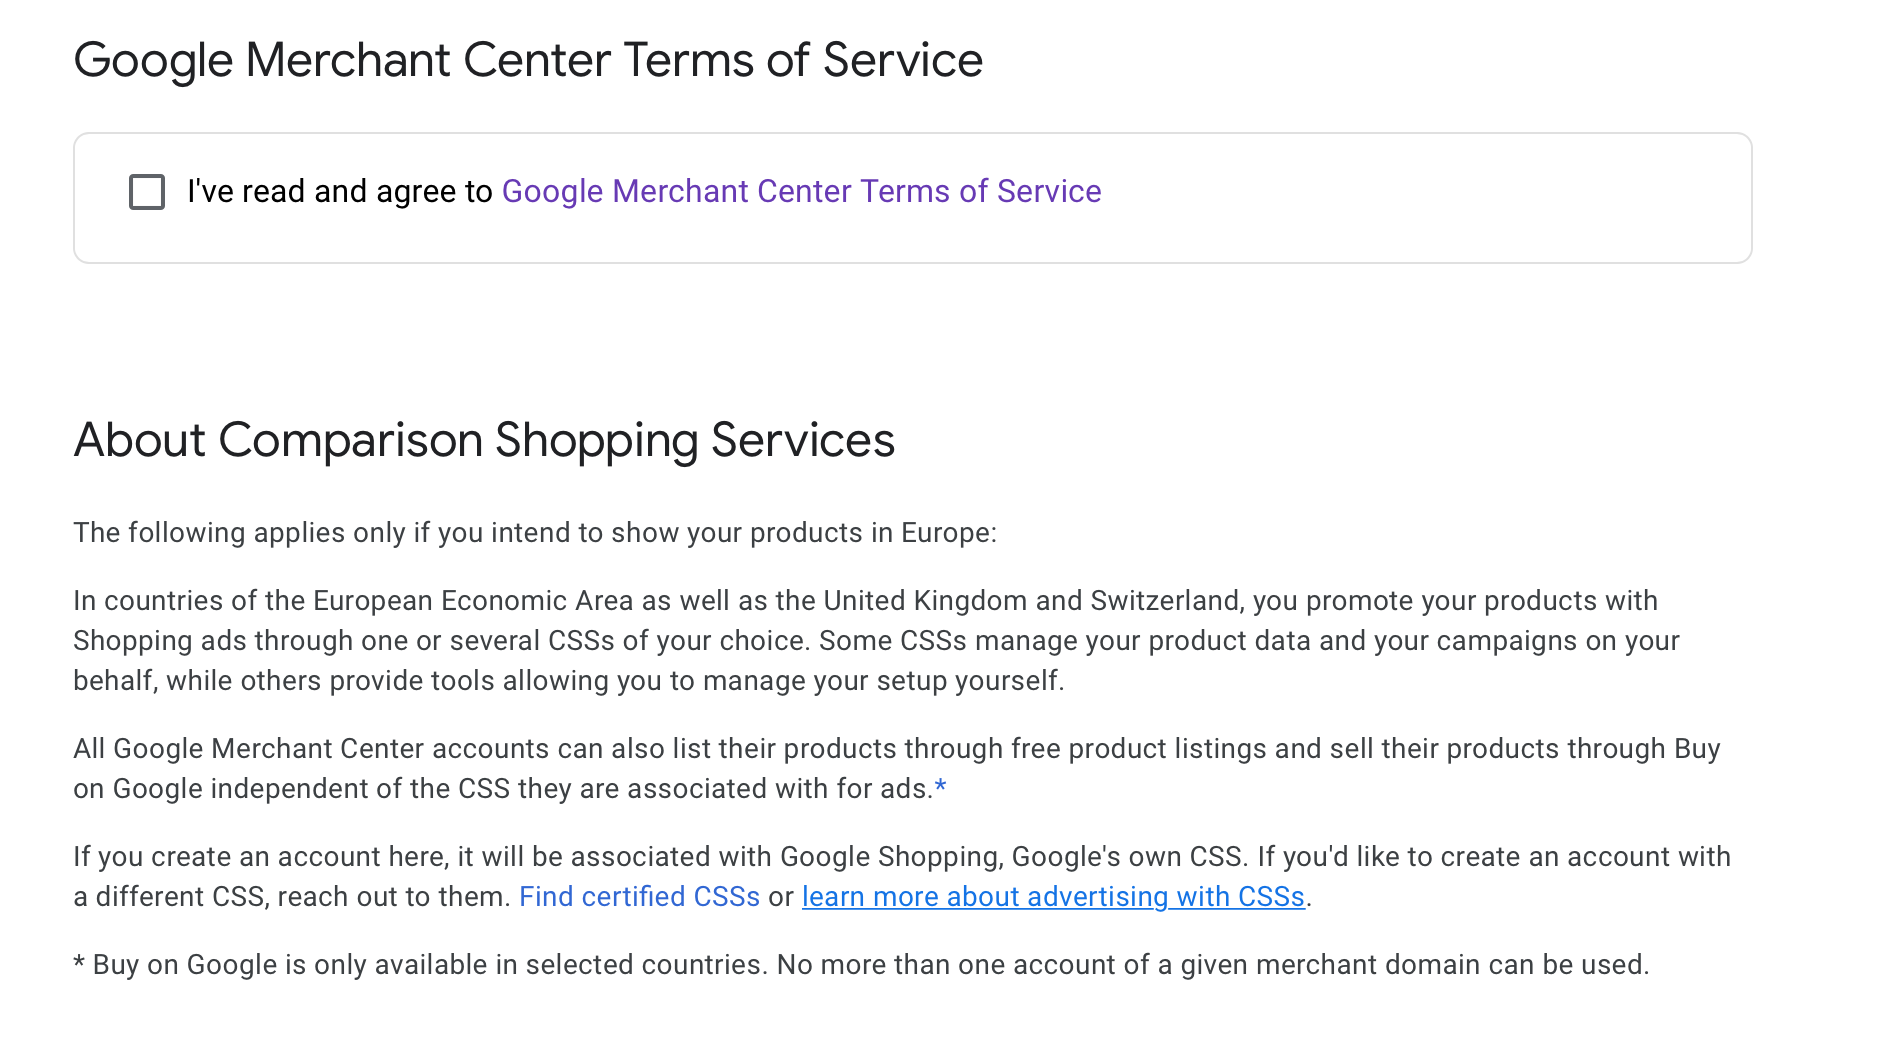
First, head to Google’s Merchant Center homepage here. You can create a new account right from the CTA on the homepage.
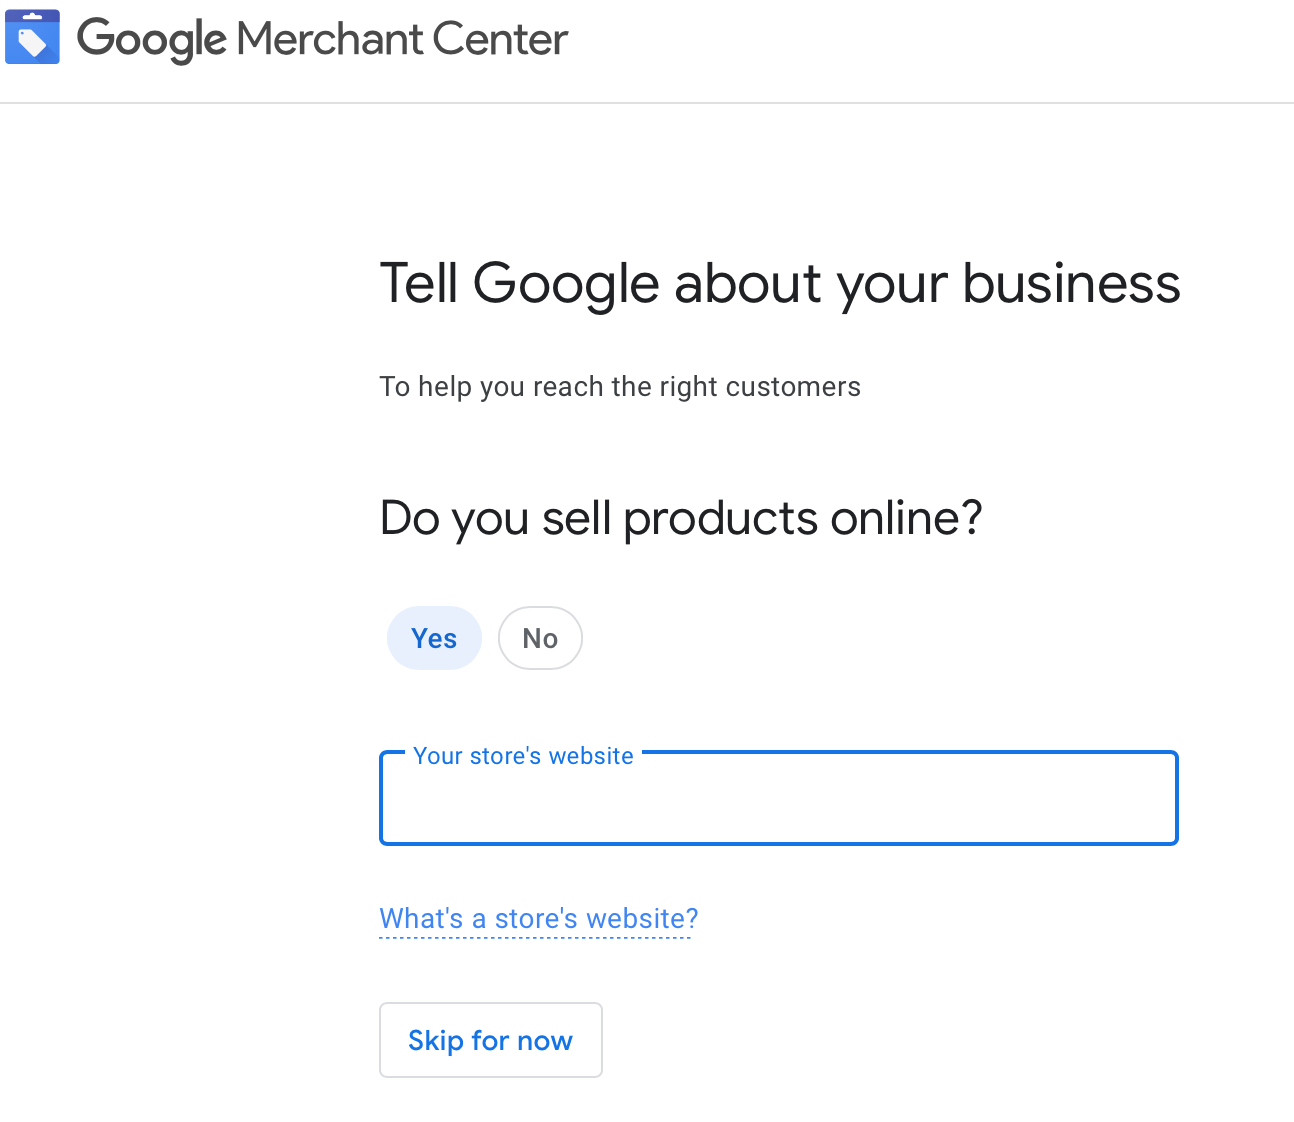
You’ll be asked whether you sell products online and the URL to your site.
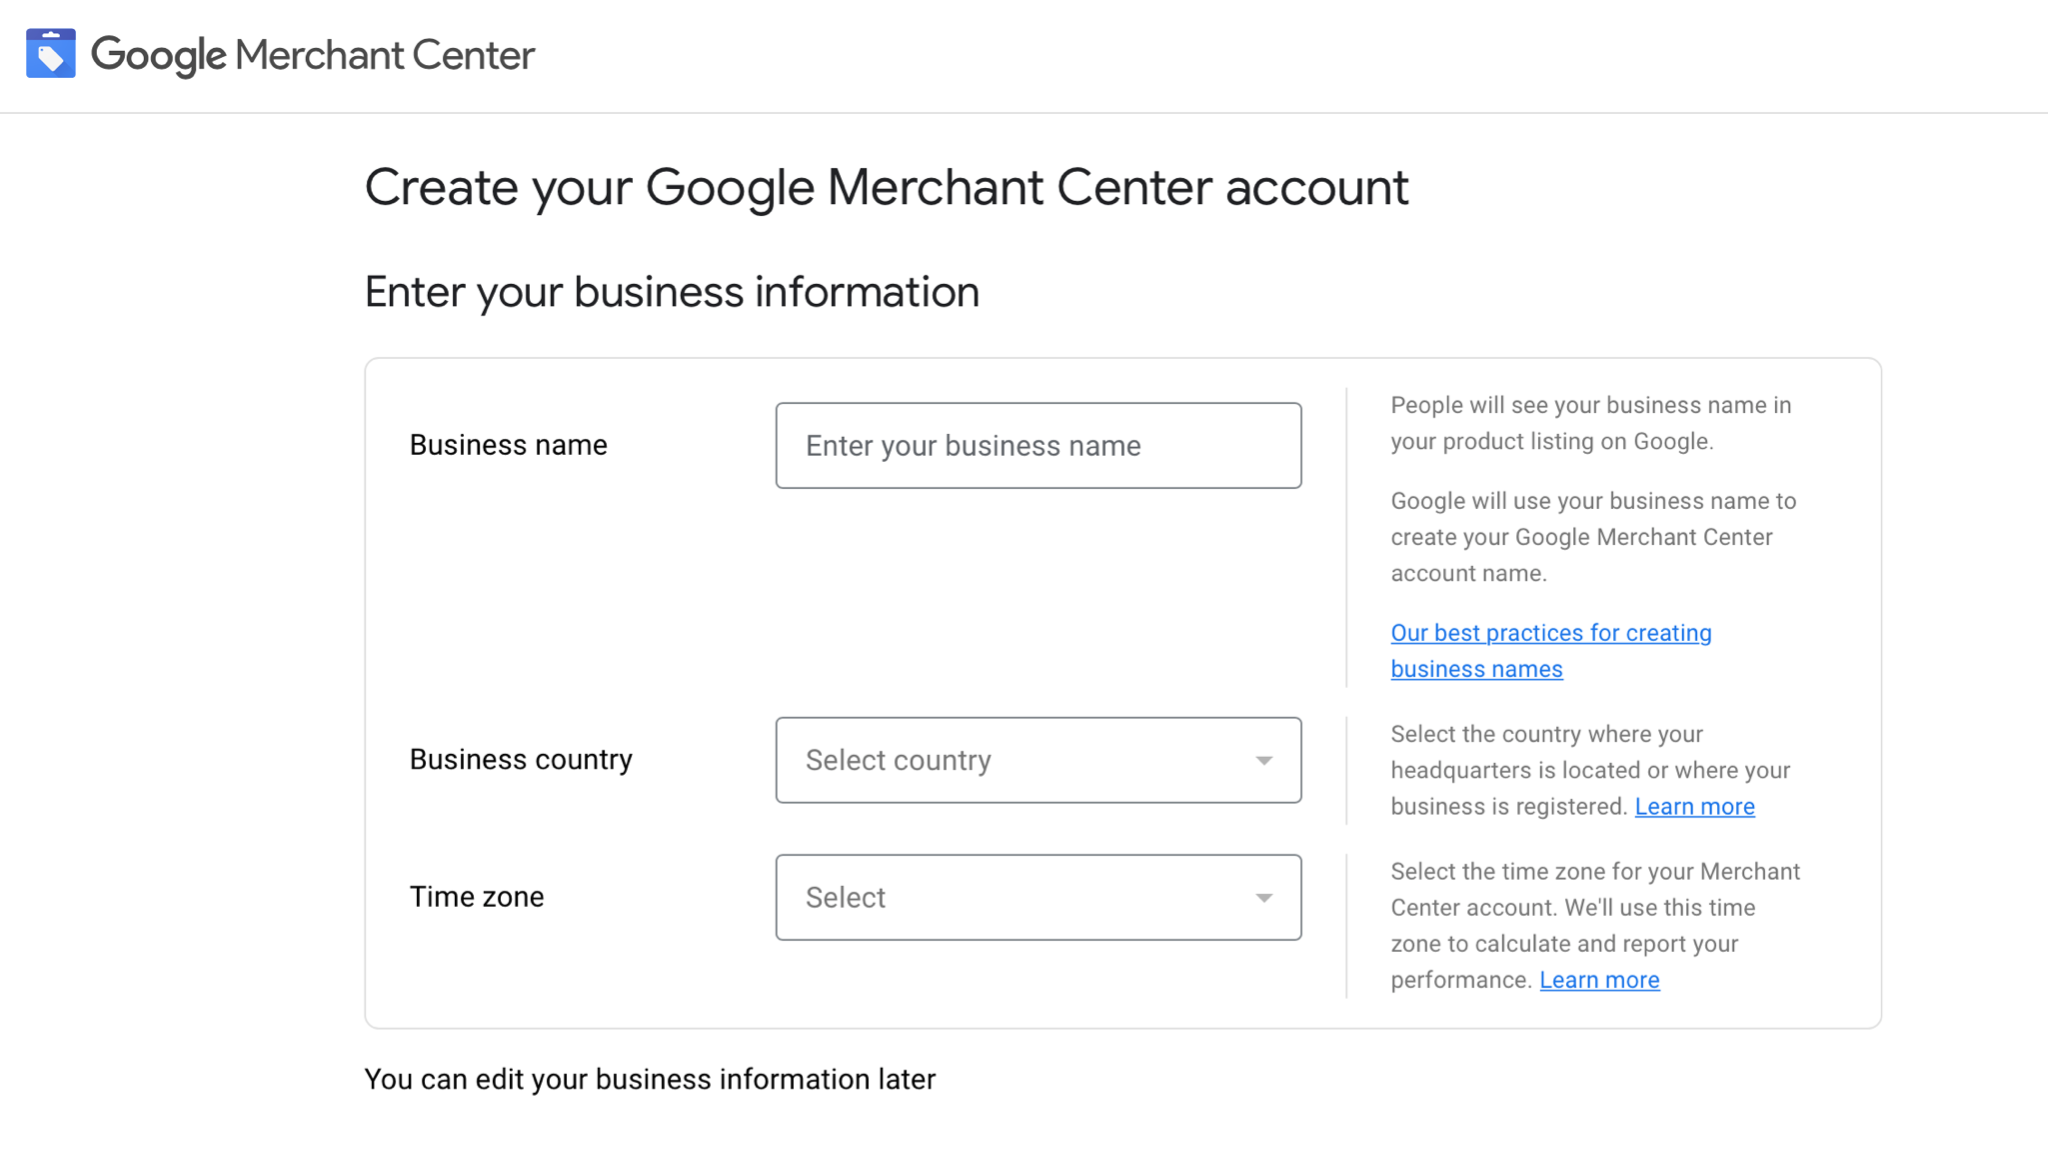
Then you’ll be asked for the name of your business, the country where your business operates, and your time zone.
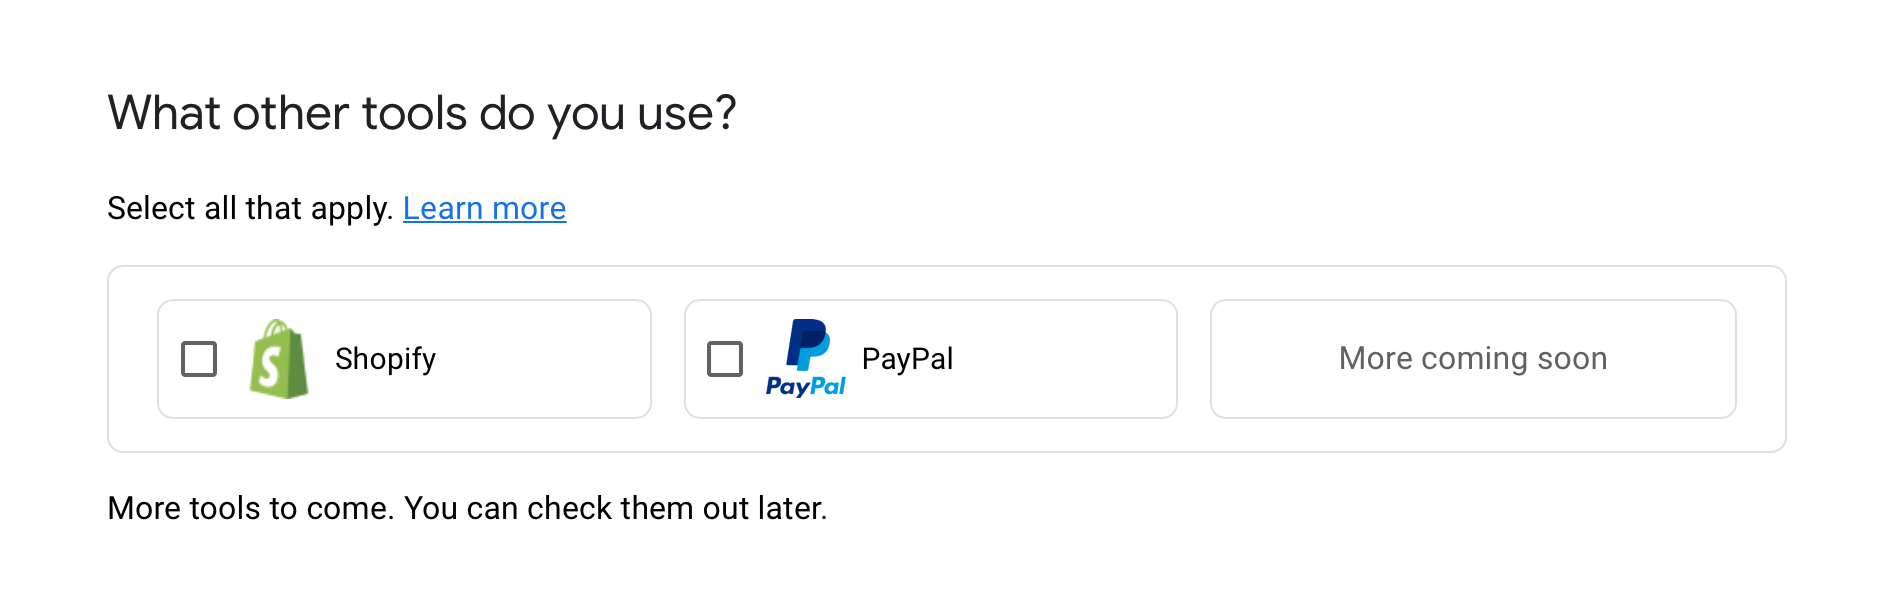
Next, you can let Google know if you’re working with Shopify and/or PayPal. (You can also connect these later.)
Once you do this, your account will be created, and you can dive into the set up process. Let’s go over what that looks like.
Set Up Your User Roles
Setting up user roles will determine who has access to your account and in what capacity.
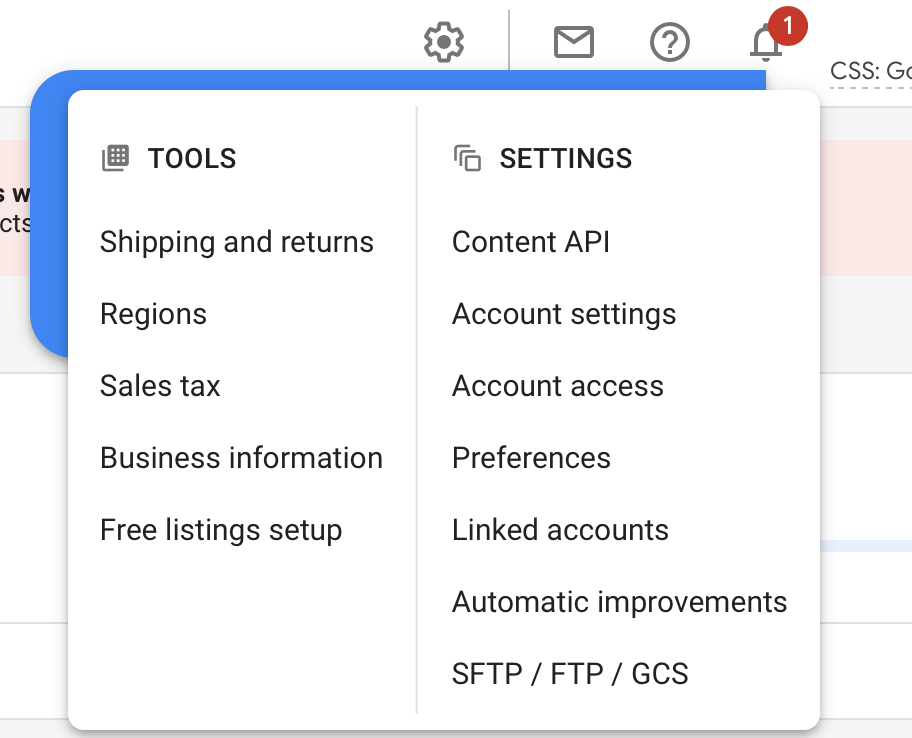
To set up your user rolls, go to the little gear in the top corner of your account and click. You can then click on “Account access.”
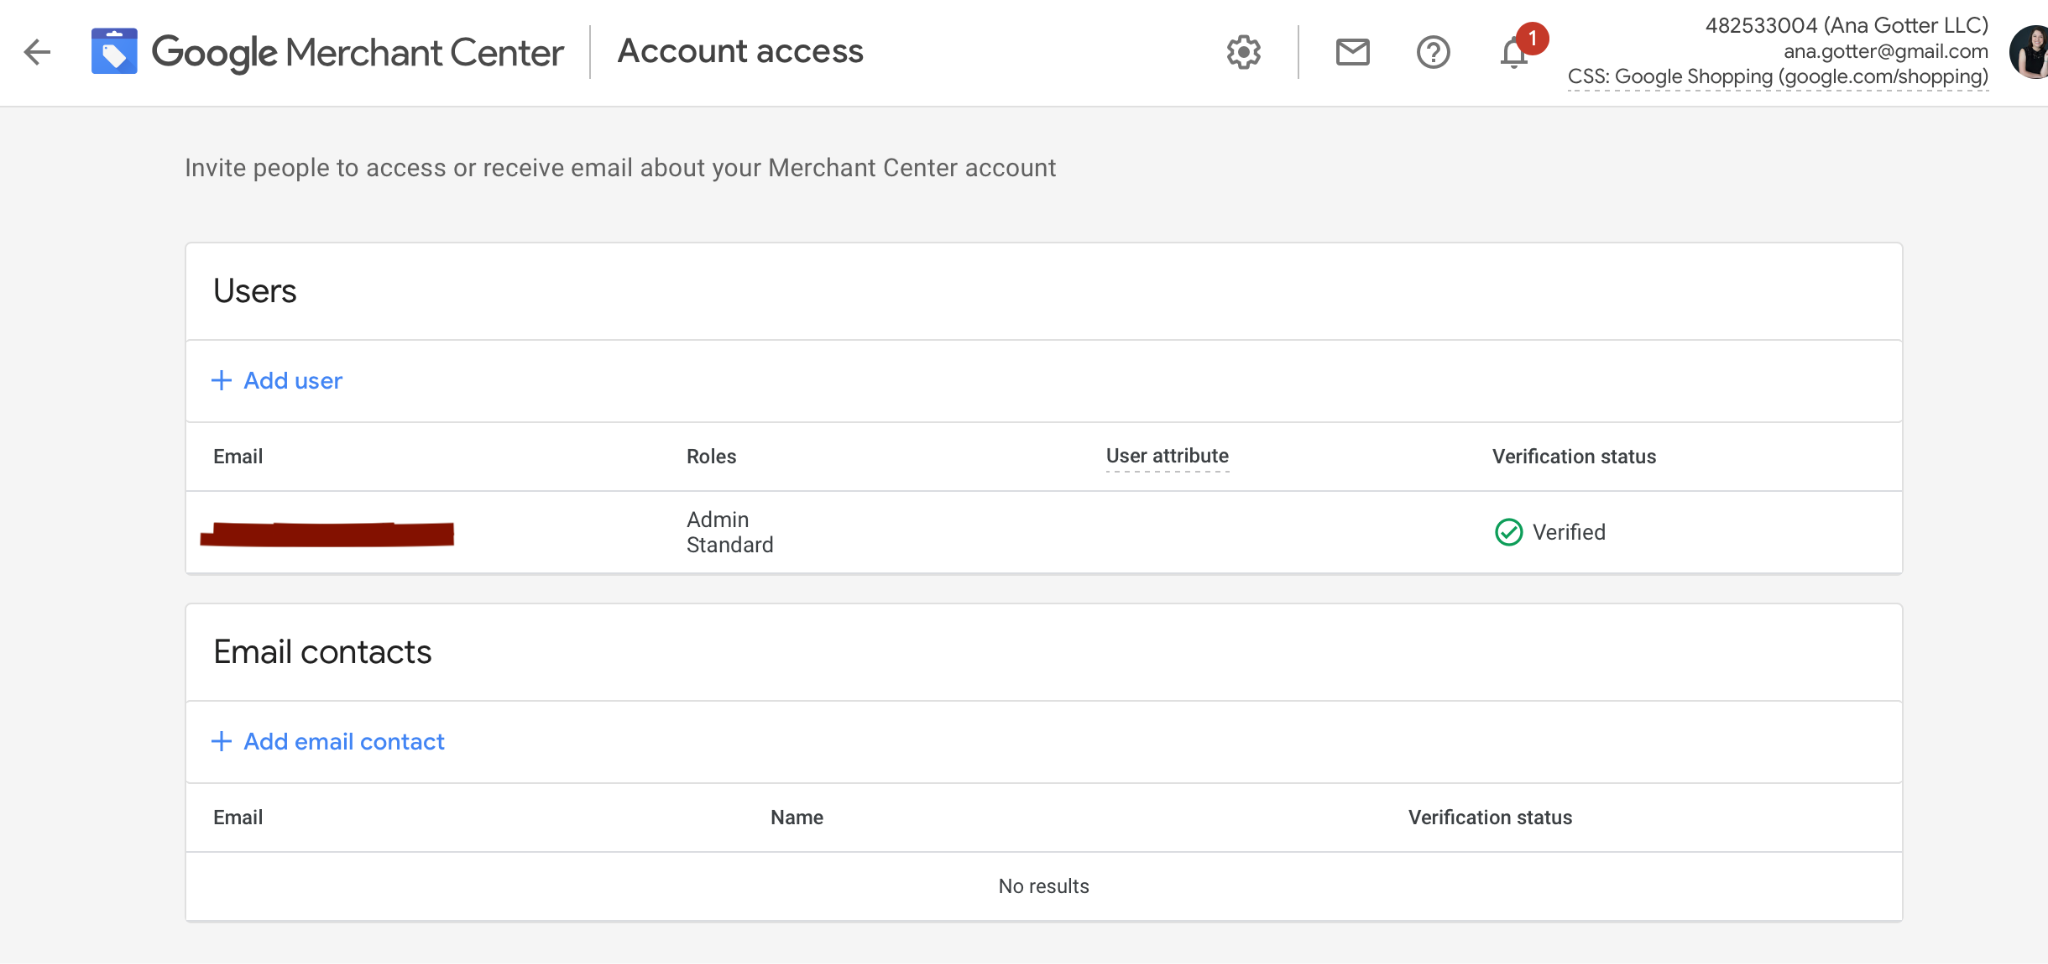
This will show you who currently has access to your account, and allow you to add additional users by clicking the blue “+ Add User.”
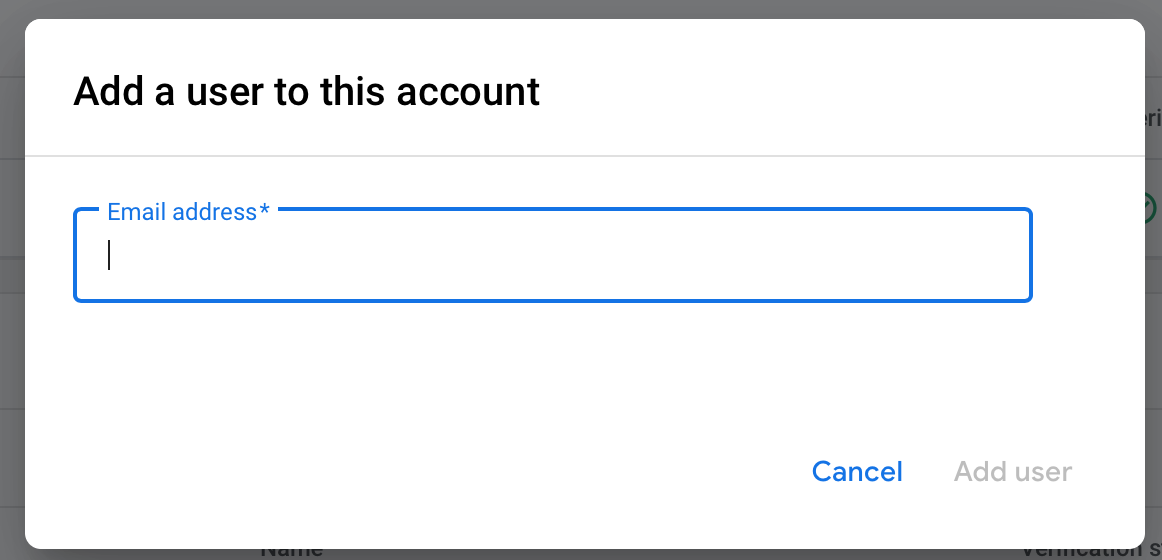
You’ll be asked to enter the user’s email address.
Then, you choose what access they’ll be given and what they’ll be notified of via email.
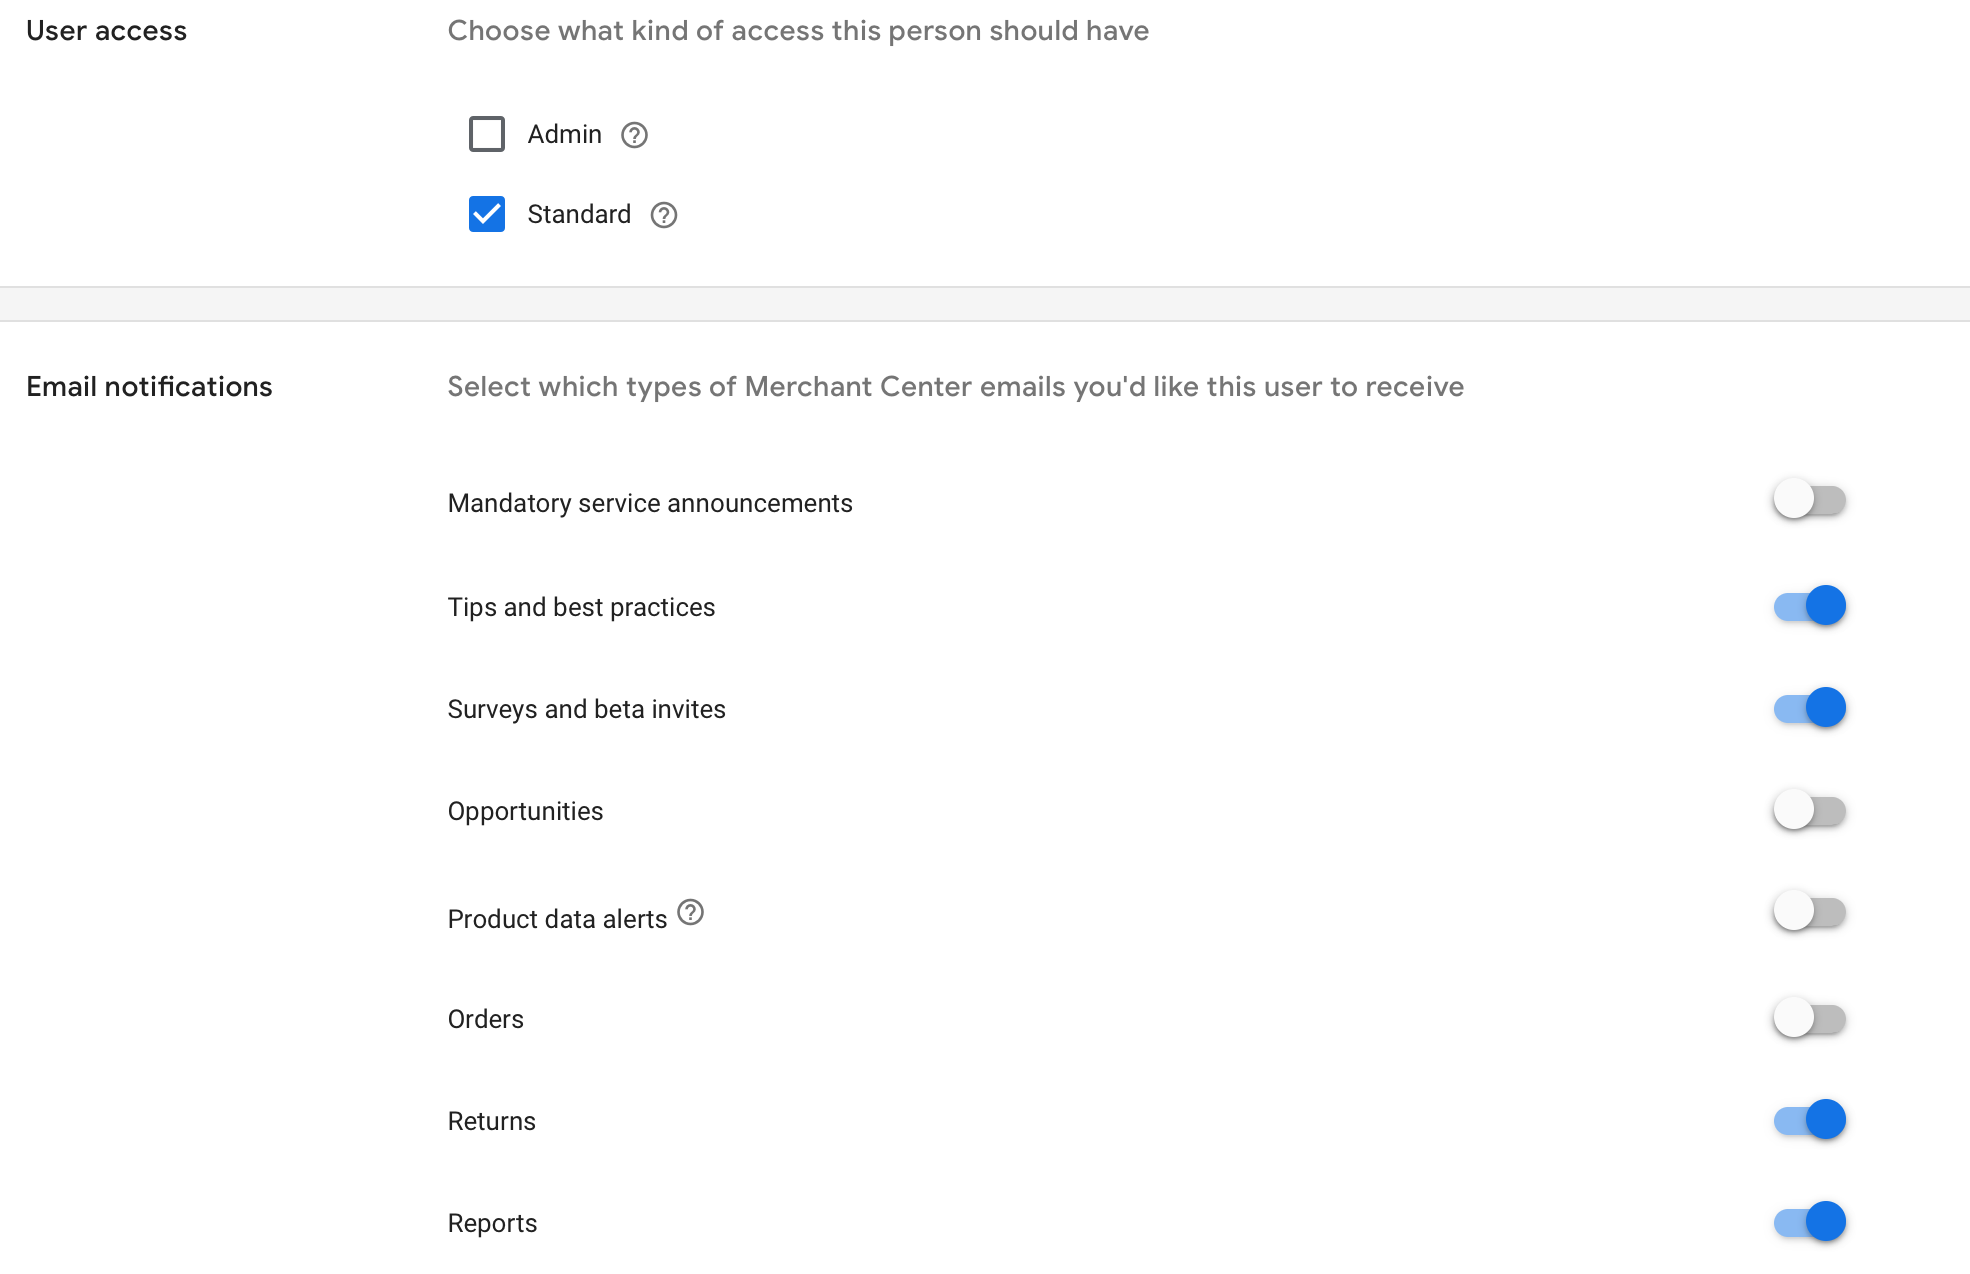
The most crucial decision here is whether you want users to have standard or admin access.
Users with standard access can access everything in the Merchant account except the Users tab, the Merchant Center programs tab, and the Orders and Payments tab.
Users with admin access can access all of the above in addition to accessing and altering info in the Users tab and the Merchant Center programs tab.
You can adjust a user’s status at any time from this dashboard.
Verify Your Website
You must verify your site to take advantage of Google’s Merchant Center, so this is a step you’ll want to tackle right away.
Go back to that gear at the top of the dashboard again, and then find “Business Information” under “Tools” and click.
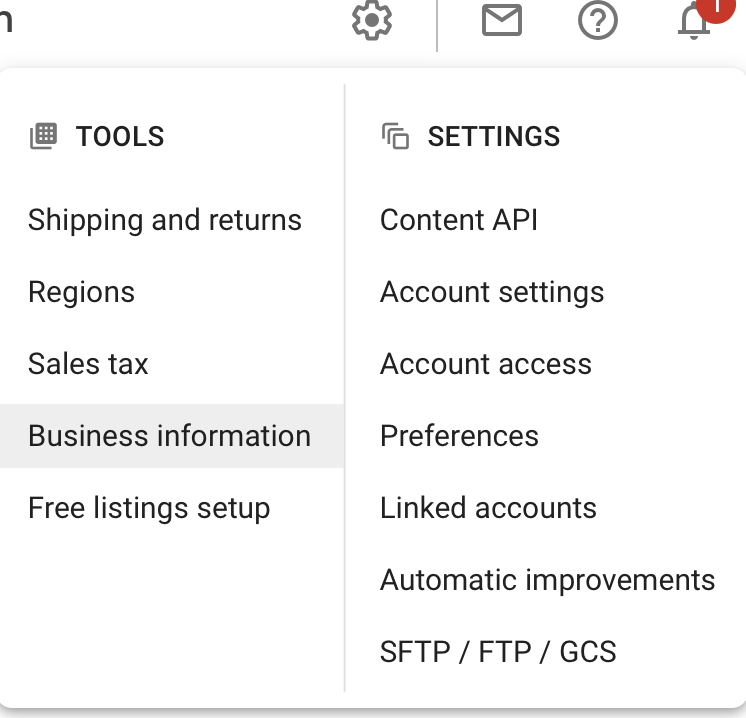
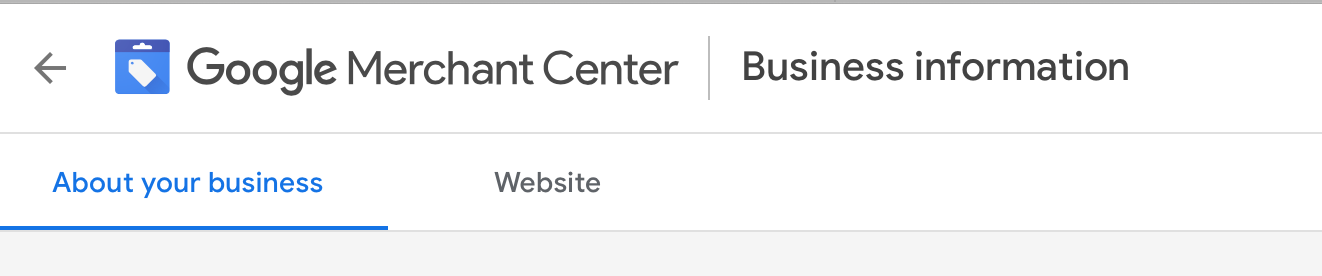
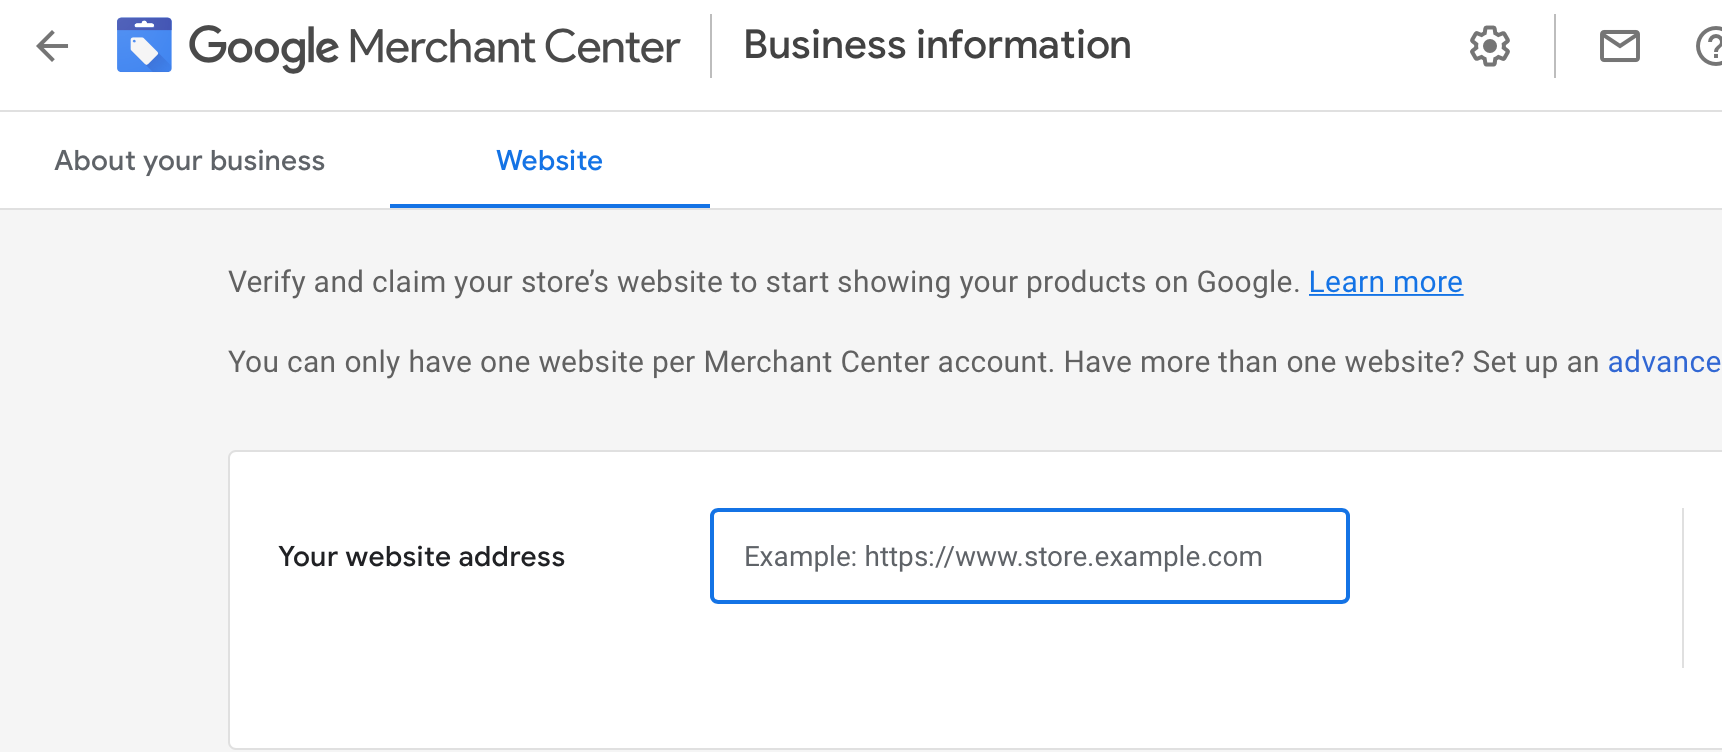
You’ll see two tabs here: One for “About your business” and one for “Website.” Click on the Website tab.
All you need to do is enter your site URL and hit enter. Google will verify your address and allow you to claim it automatically.
Set Up Shipping
Back to that little gear icon we go. This time, click on “Shipping and returns.”
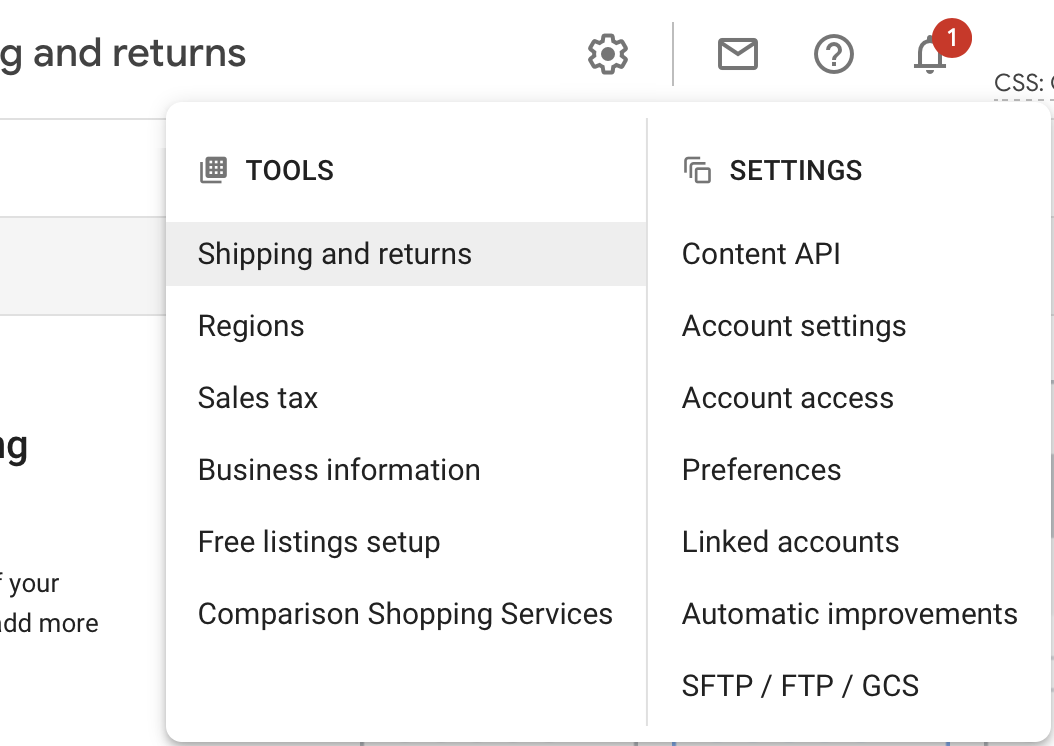
You’ll see the option to “Add shipping service.”
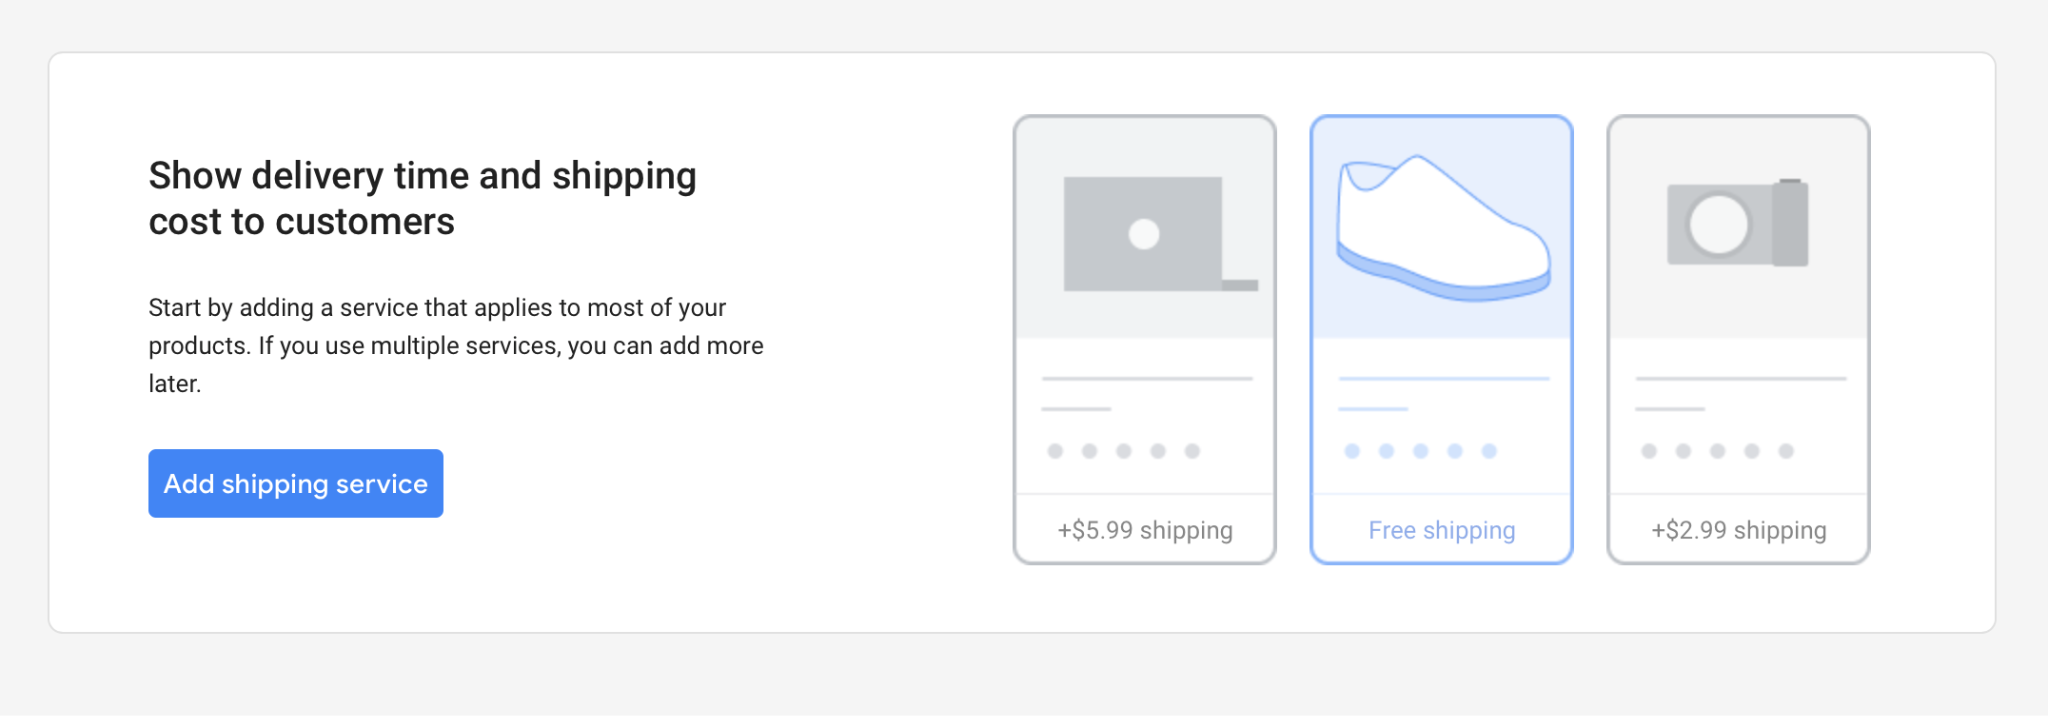
After you choose which countries you ship to, you’ll be asked to name the service and set the currency you charge for.
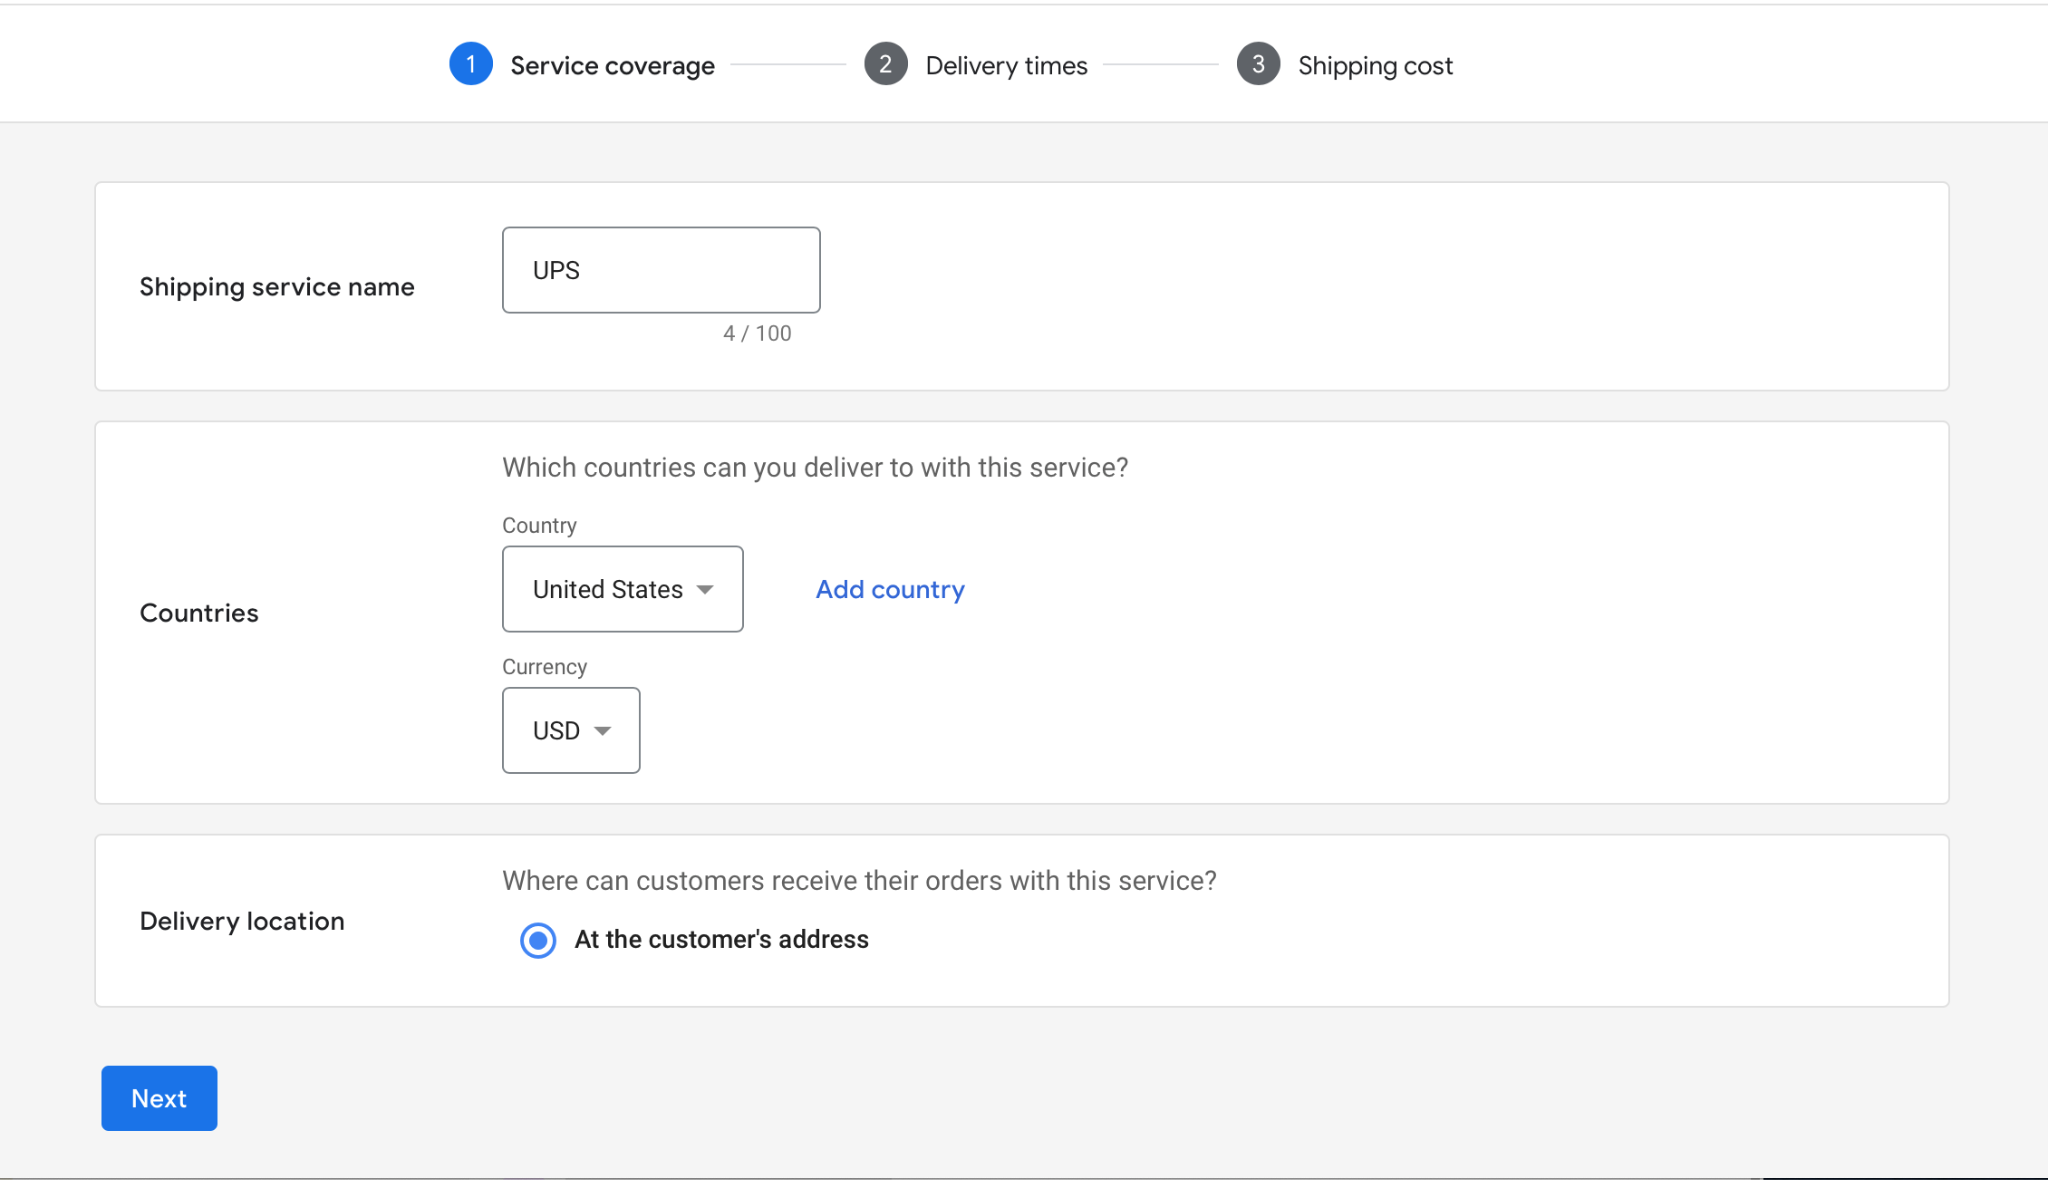
Then, you’ll make several choices that determine how you’ll charge for shipping and what shipping you’ll offer.
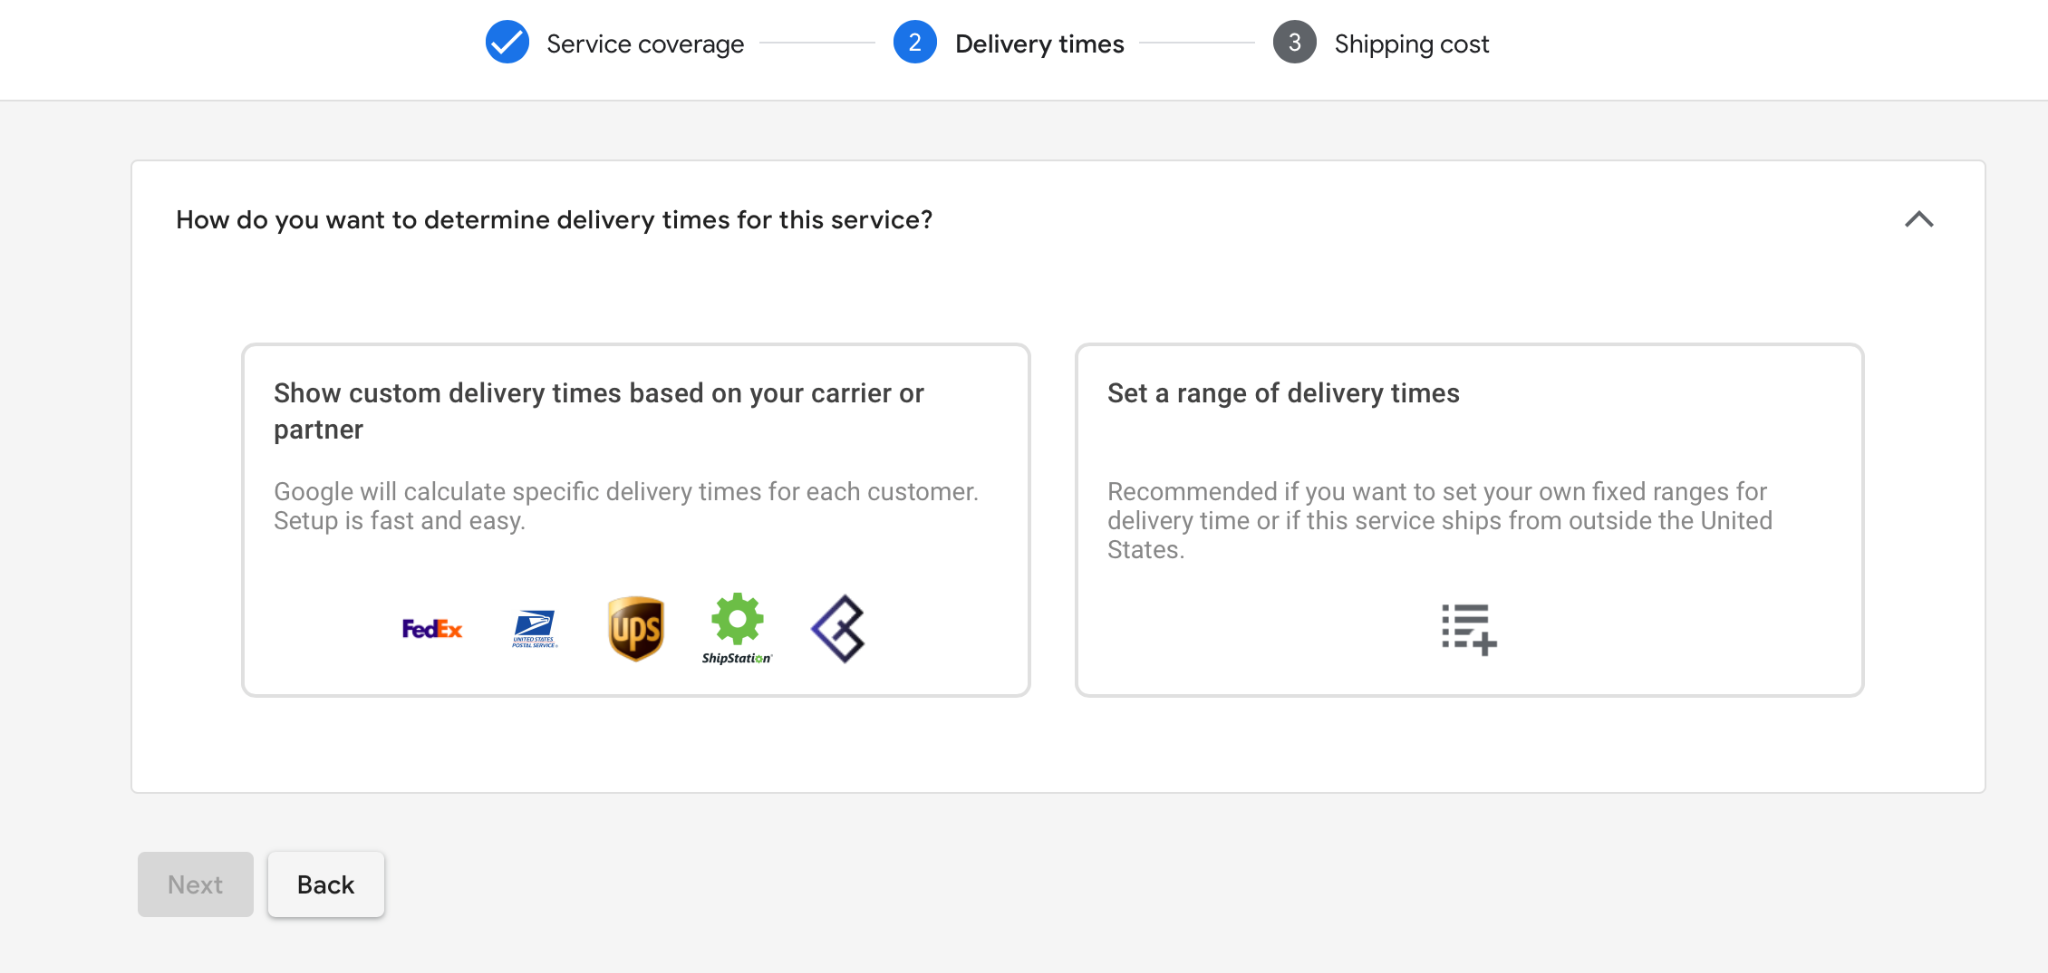
You can either show custom delivery times based on different shipping partners, or set a range of custom delivery times.
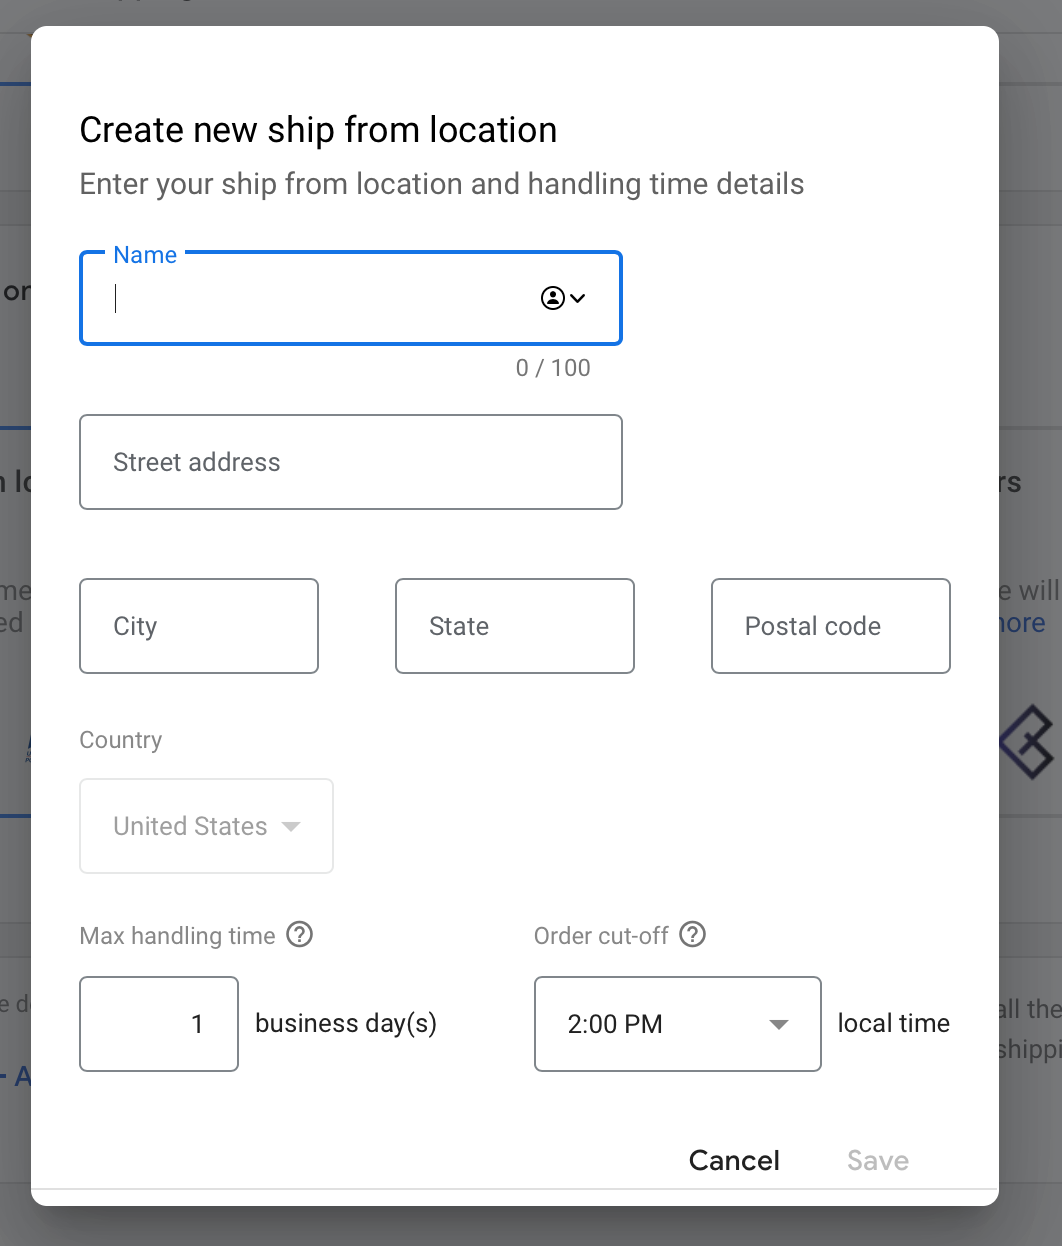
To make it easy for Google to calculate shipping costs and time frames, enter in the “Ship from” location that the items will be shipping from. You can add more than one.
Then, select the carrier services that you offer for customers.

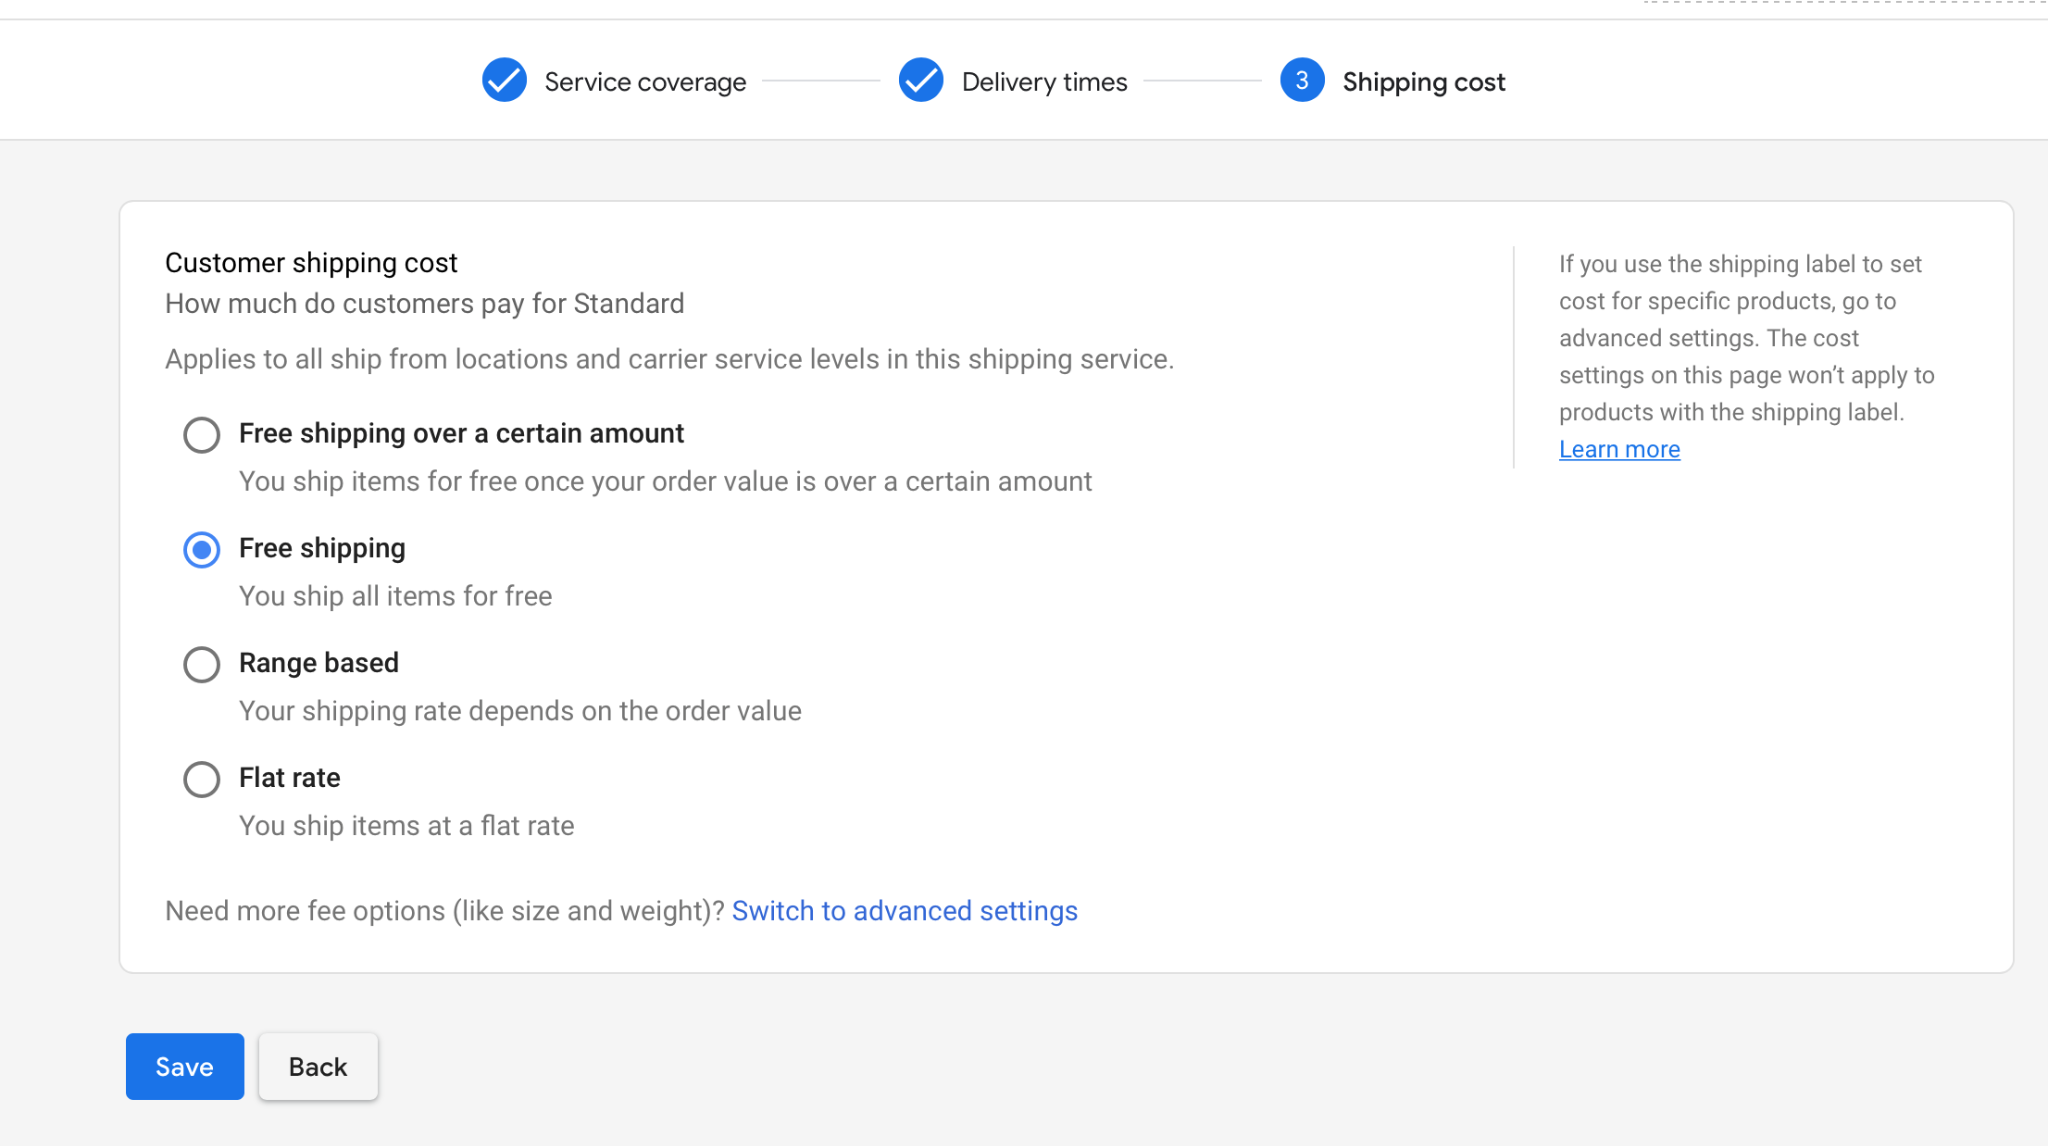
You’ll then choose how you want to charge for shipping. You can automatically choose free shipping, free shipping over a certain amount, range-based costs, or flat rate.
Set Up Your Return Policy
Whether you have a return policy or have a no-returns policy, you’re going to want to establish your guidelines.
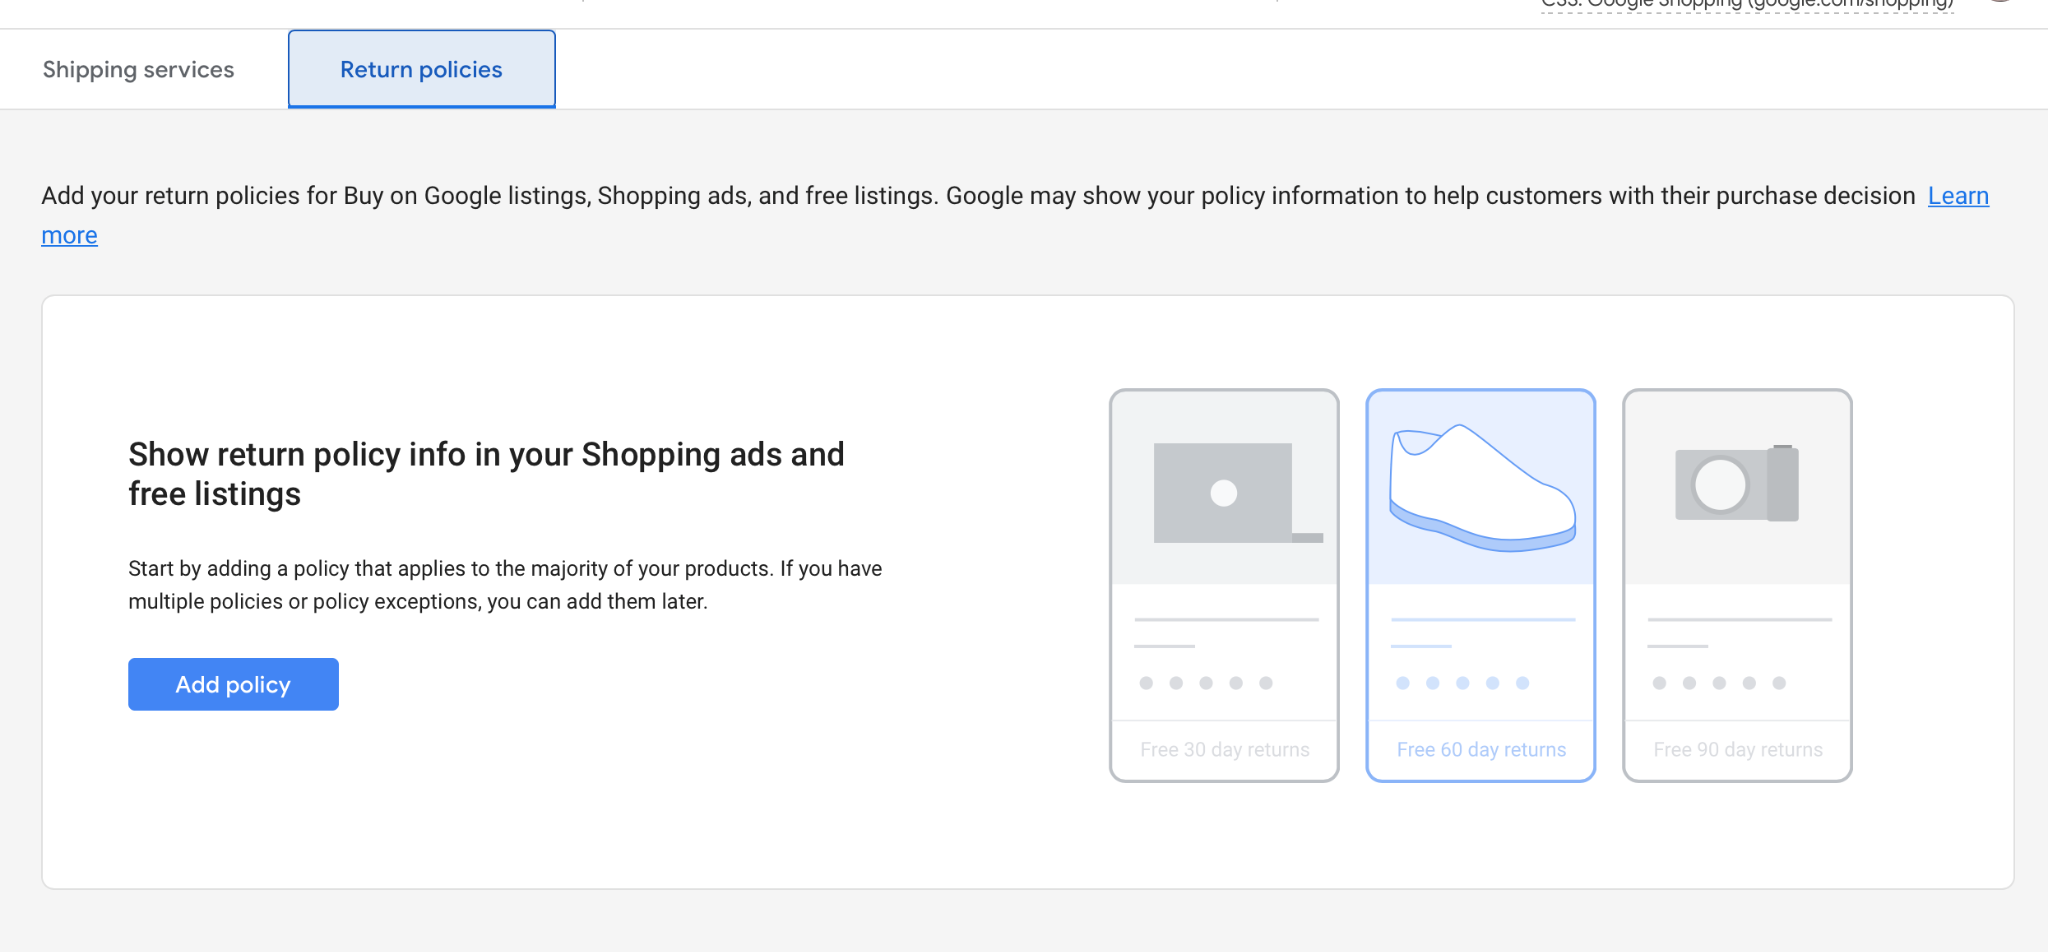
Under the same “Shipping and returns” tab, you’ll see the option to set up a return policy. Click “Add policy.”
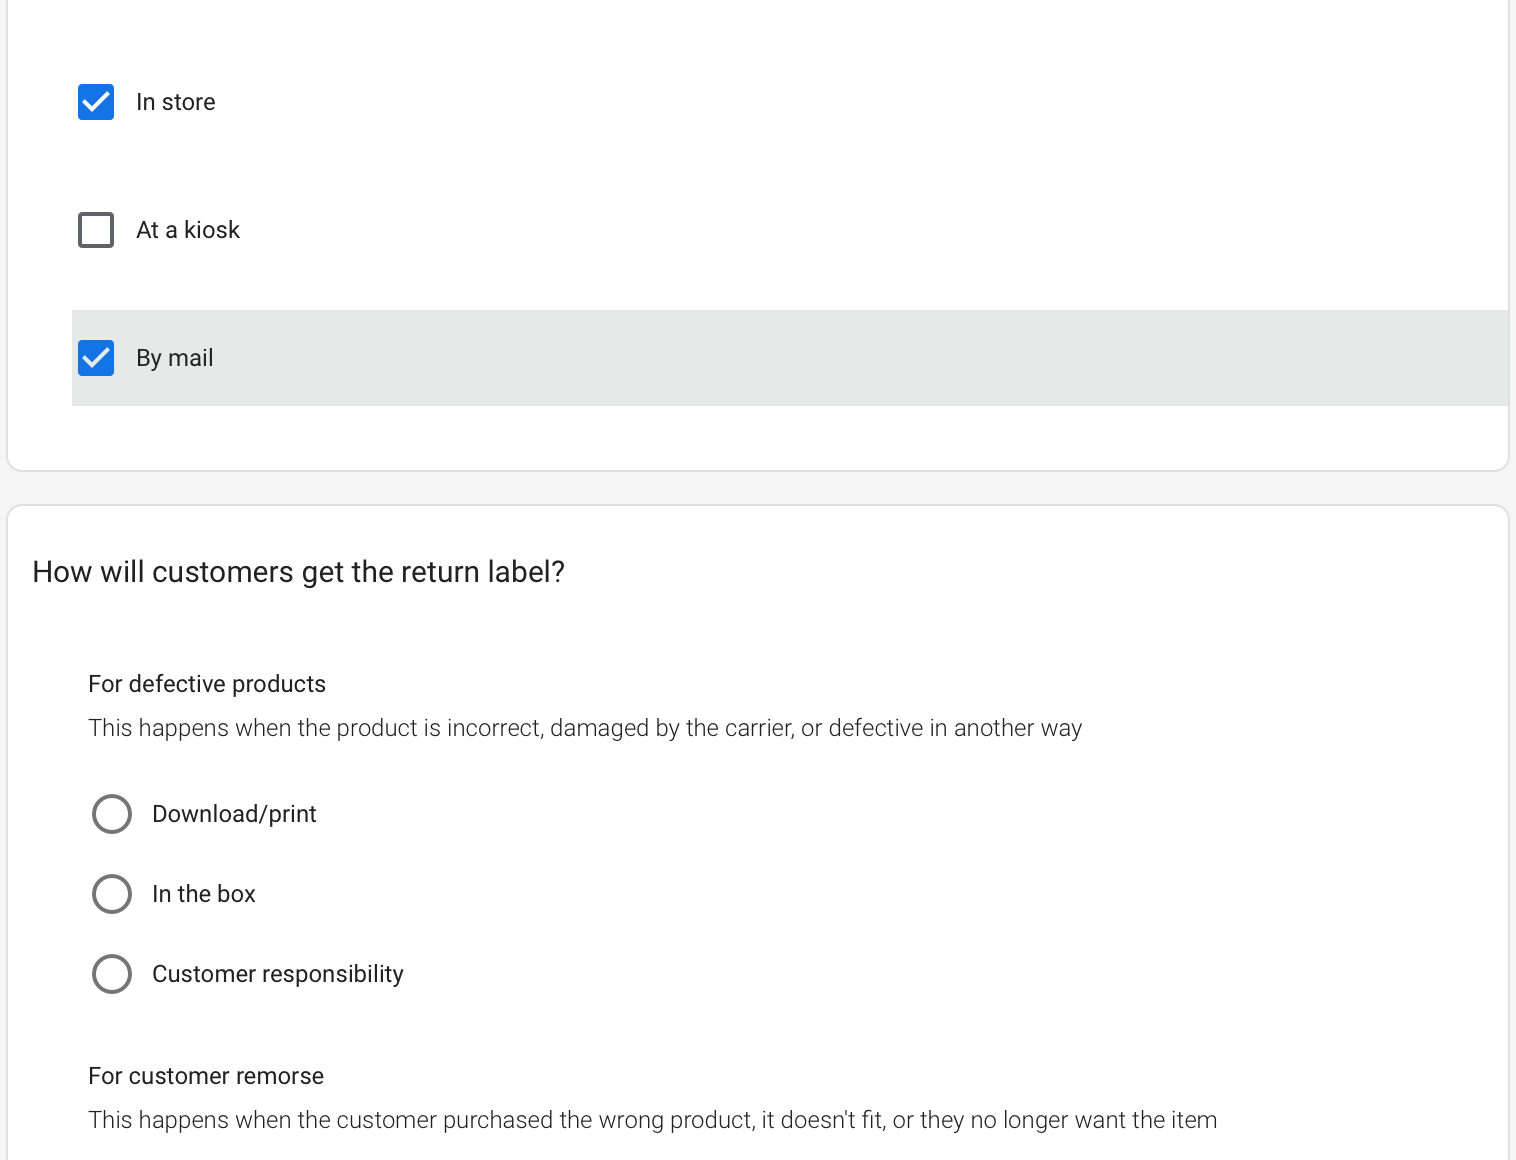
Then all you have to do is link to the return policy, and say whether you do or don’t accept returns.
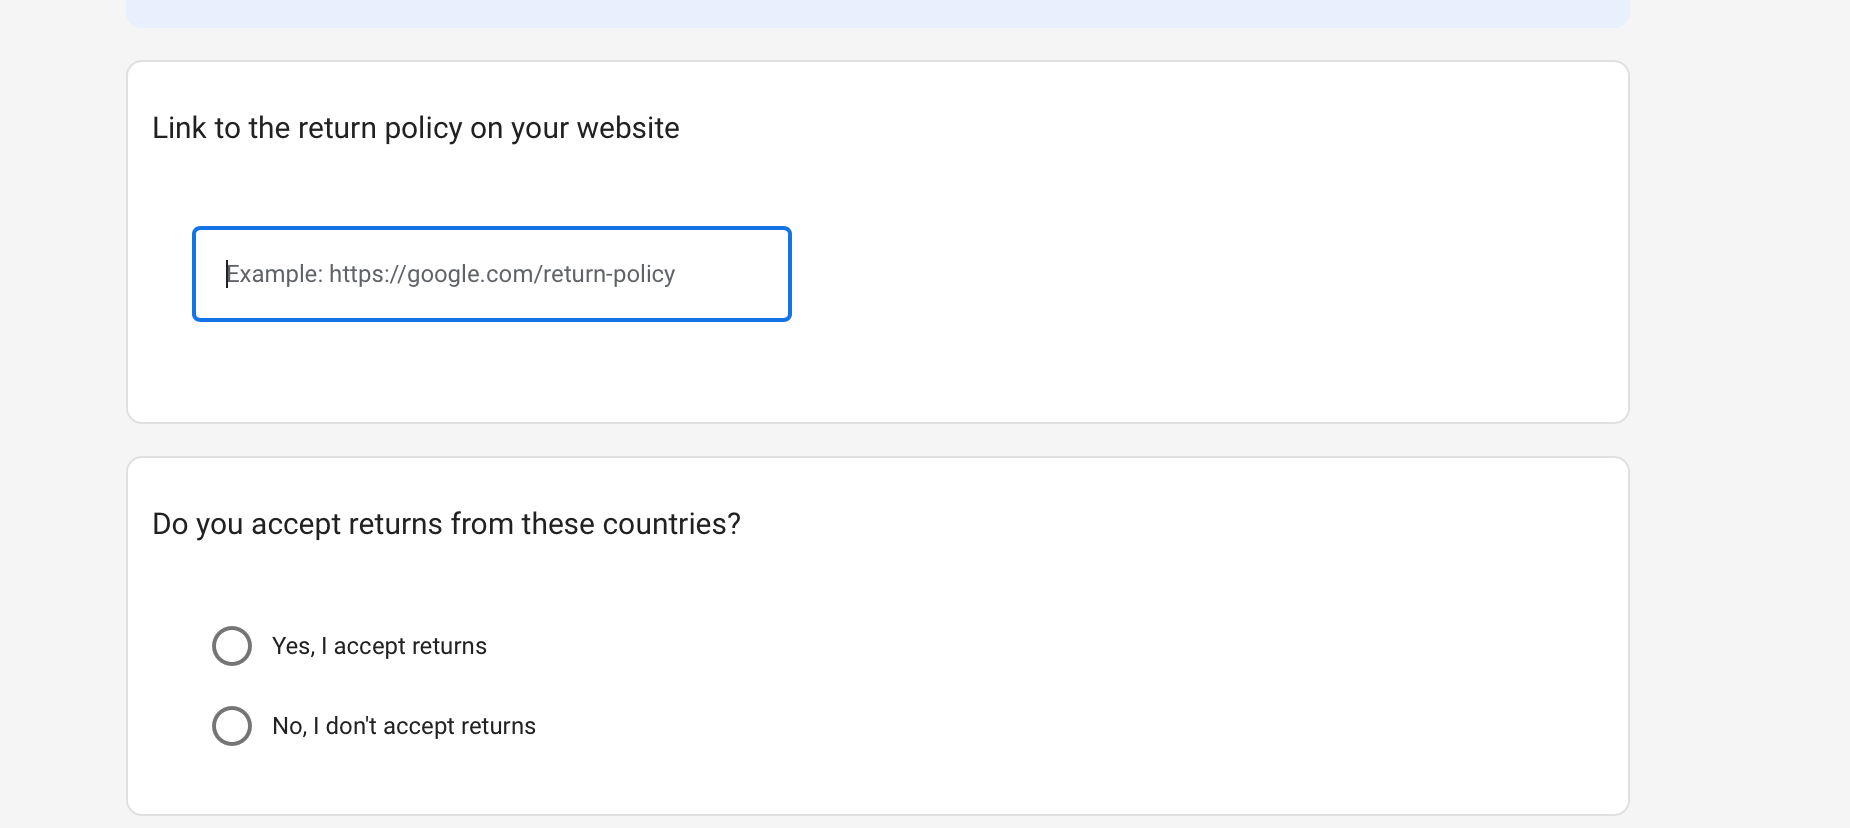
You’ll then be asked questions about how users can make returns, how long after purchasing they can make returns, and other important information.
Add Tax Information
Before you start processing sales, you need to set up taxing. You’ll set up tax for each individual state that customers can purchase from.
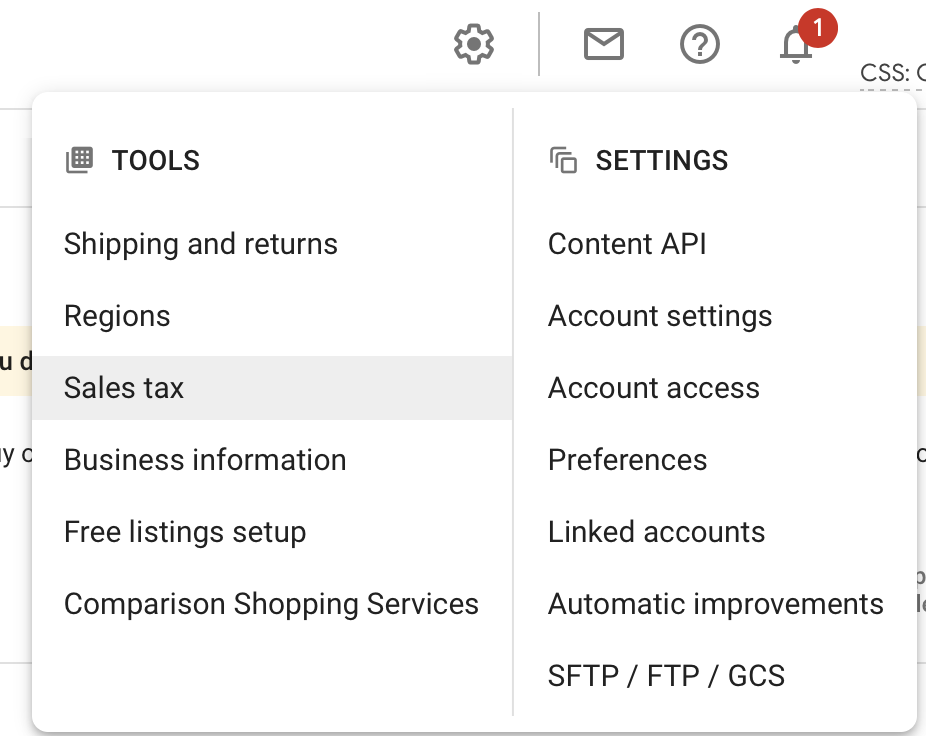
Go back to that handy gear icon, and then find “Sales tax.”
You’ll then set up the tax for each individual state. Click the toggle bar next to each state where customers can place orders from.
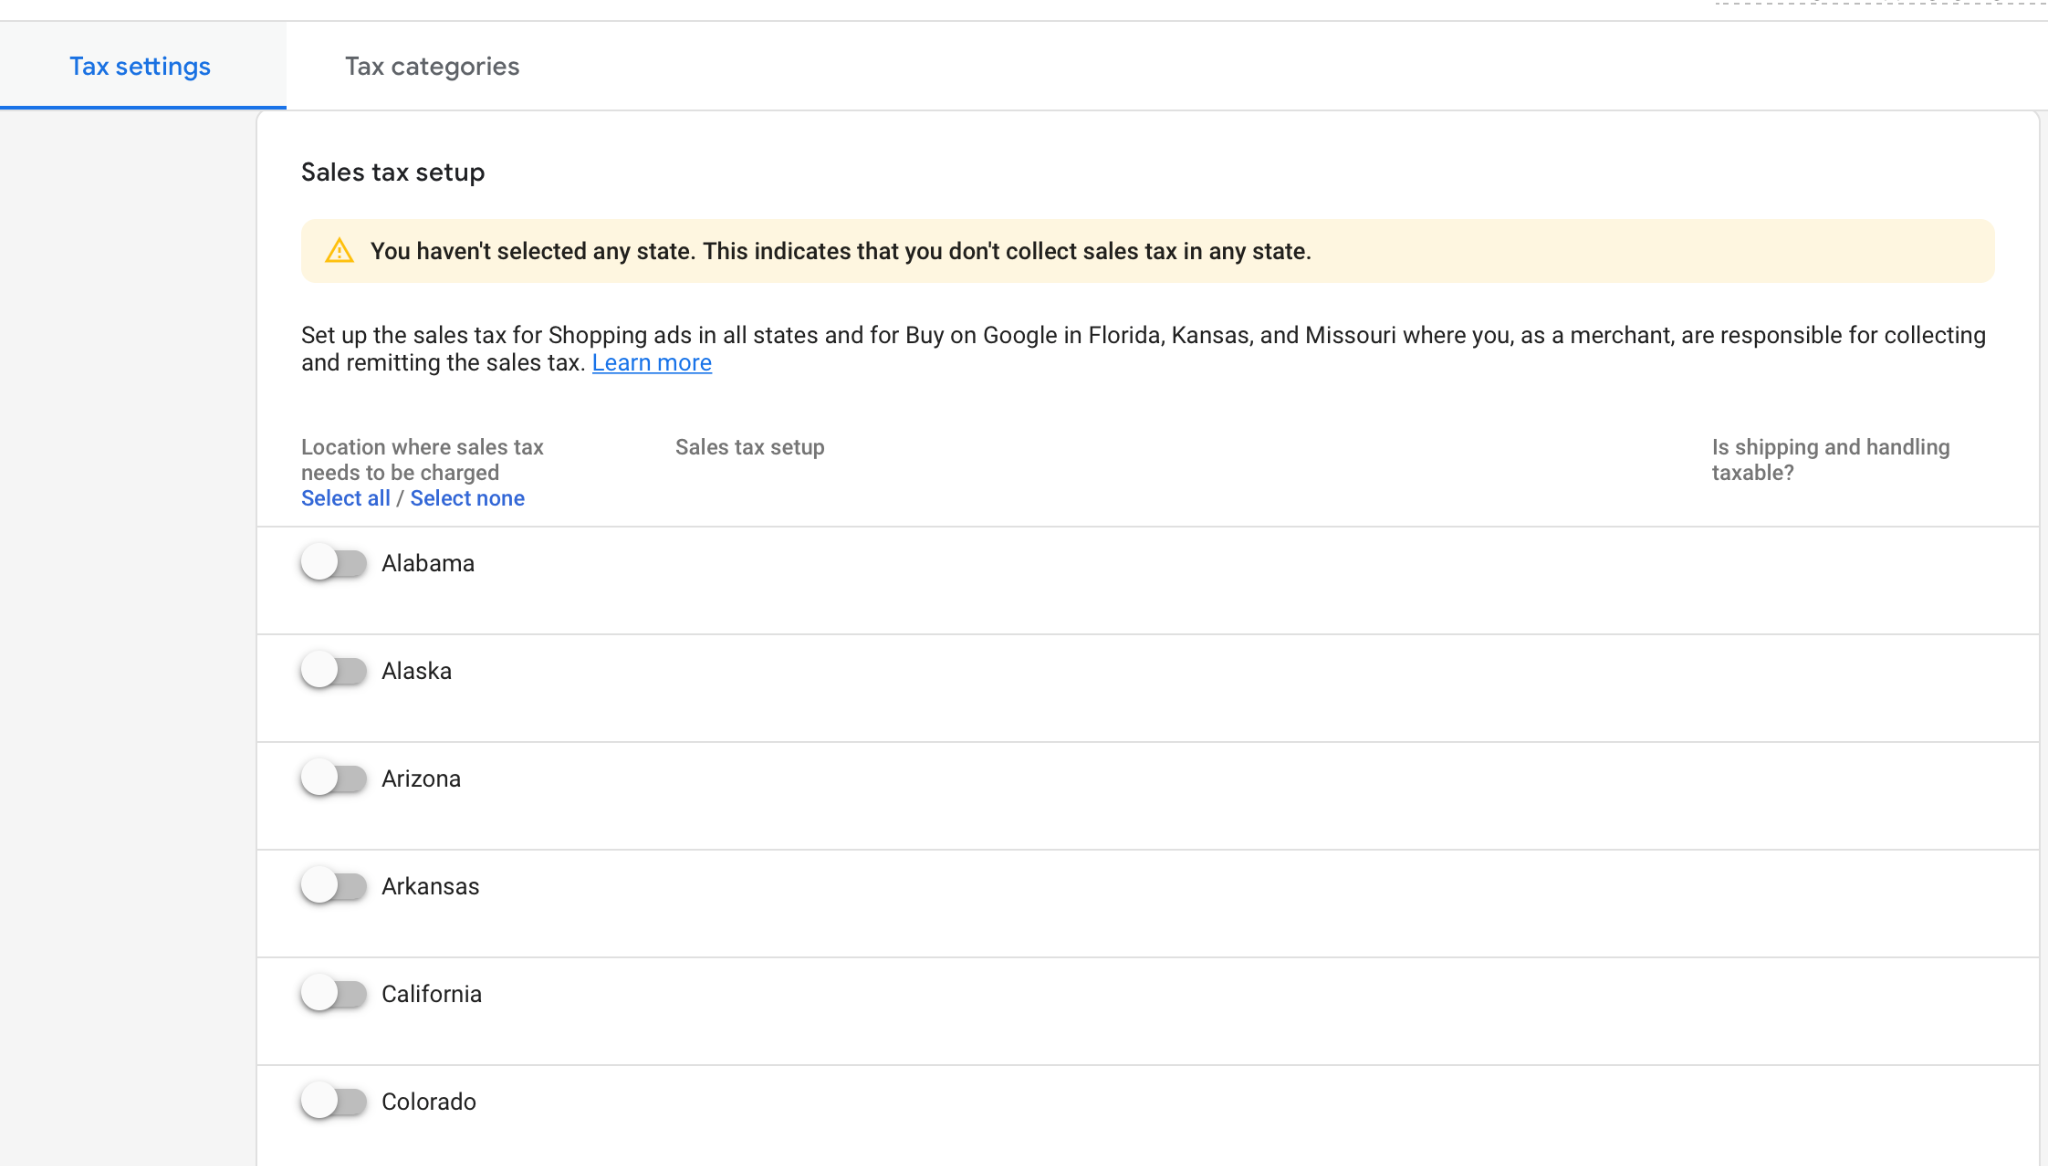
You can then let Google determine the sales tax automatically, or set up a custom set up. You can also decide if shopping and handling will be taxable.

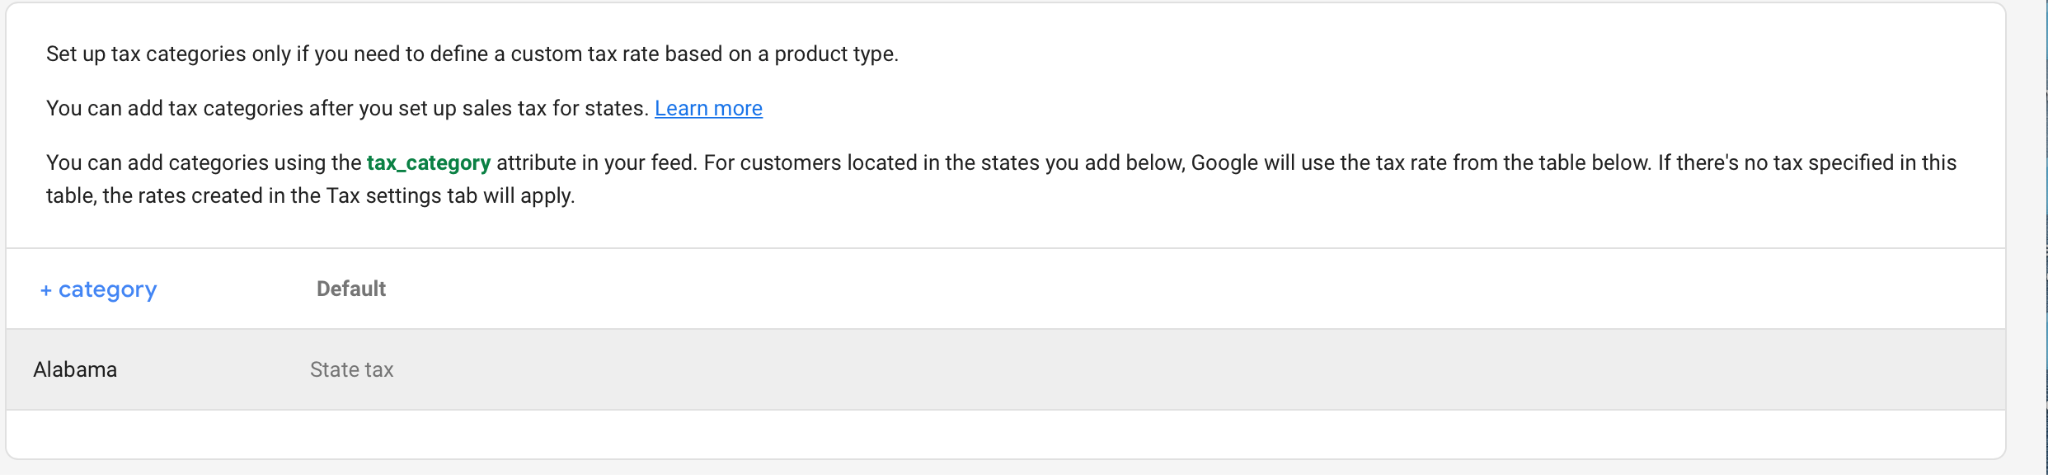
If you need to add another tax for any reason, you can go over to “Tax Categories” and add additional categories of taxes for individual states.
Set Up Product Listings
Now, after all that business set up, it’s time to start finally uploading your products.
And we’re finally going to be looking at something other than the gear! Take a look at the “Products” tab in the left side navigation bar and click.
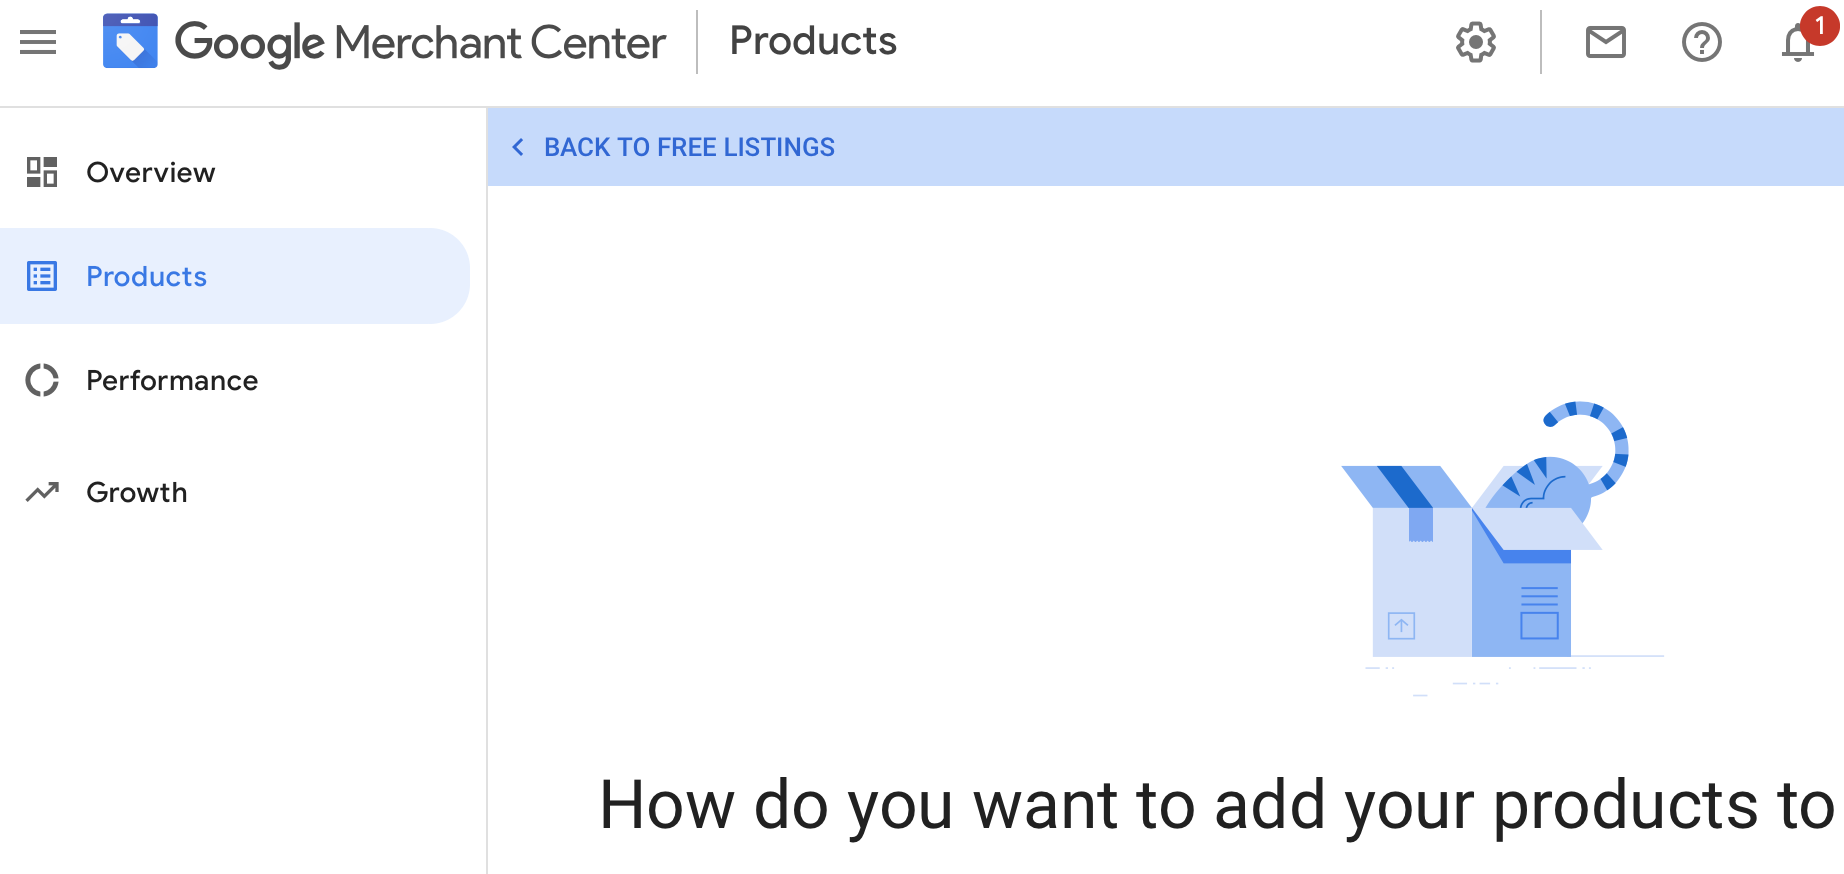
There are a few different options to upload your products to the Merchant Center. The first allows you to upload a single product at a time individually with manual entry.
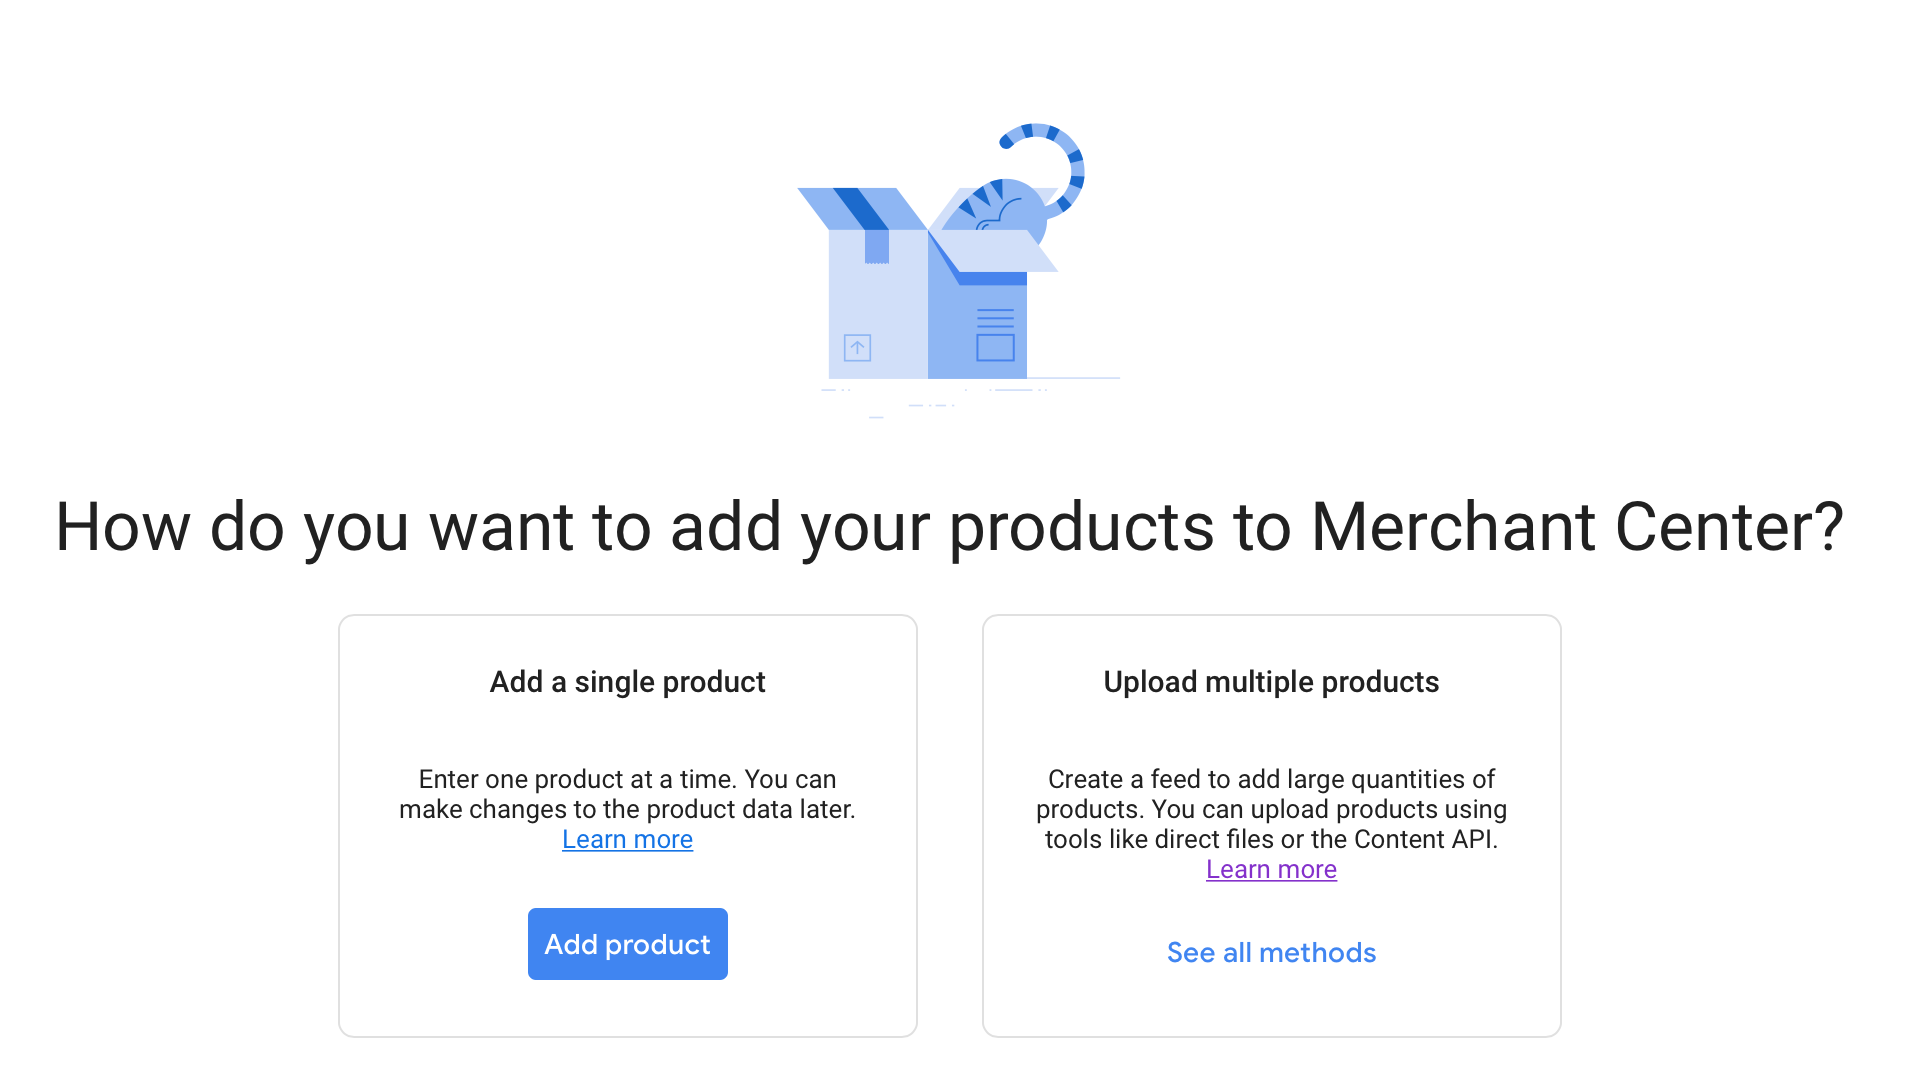
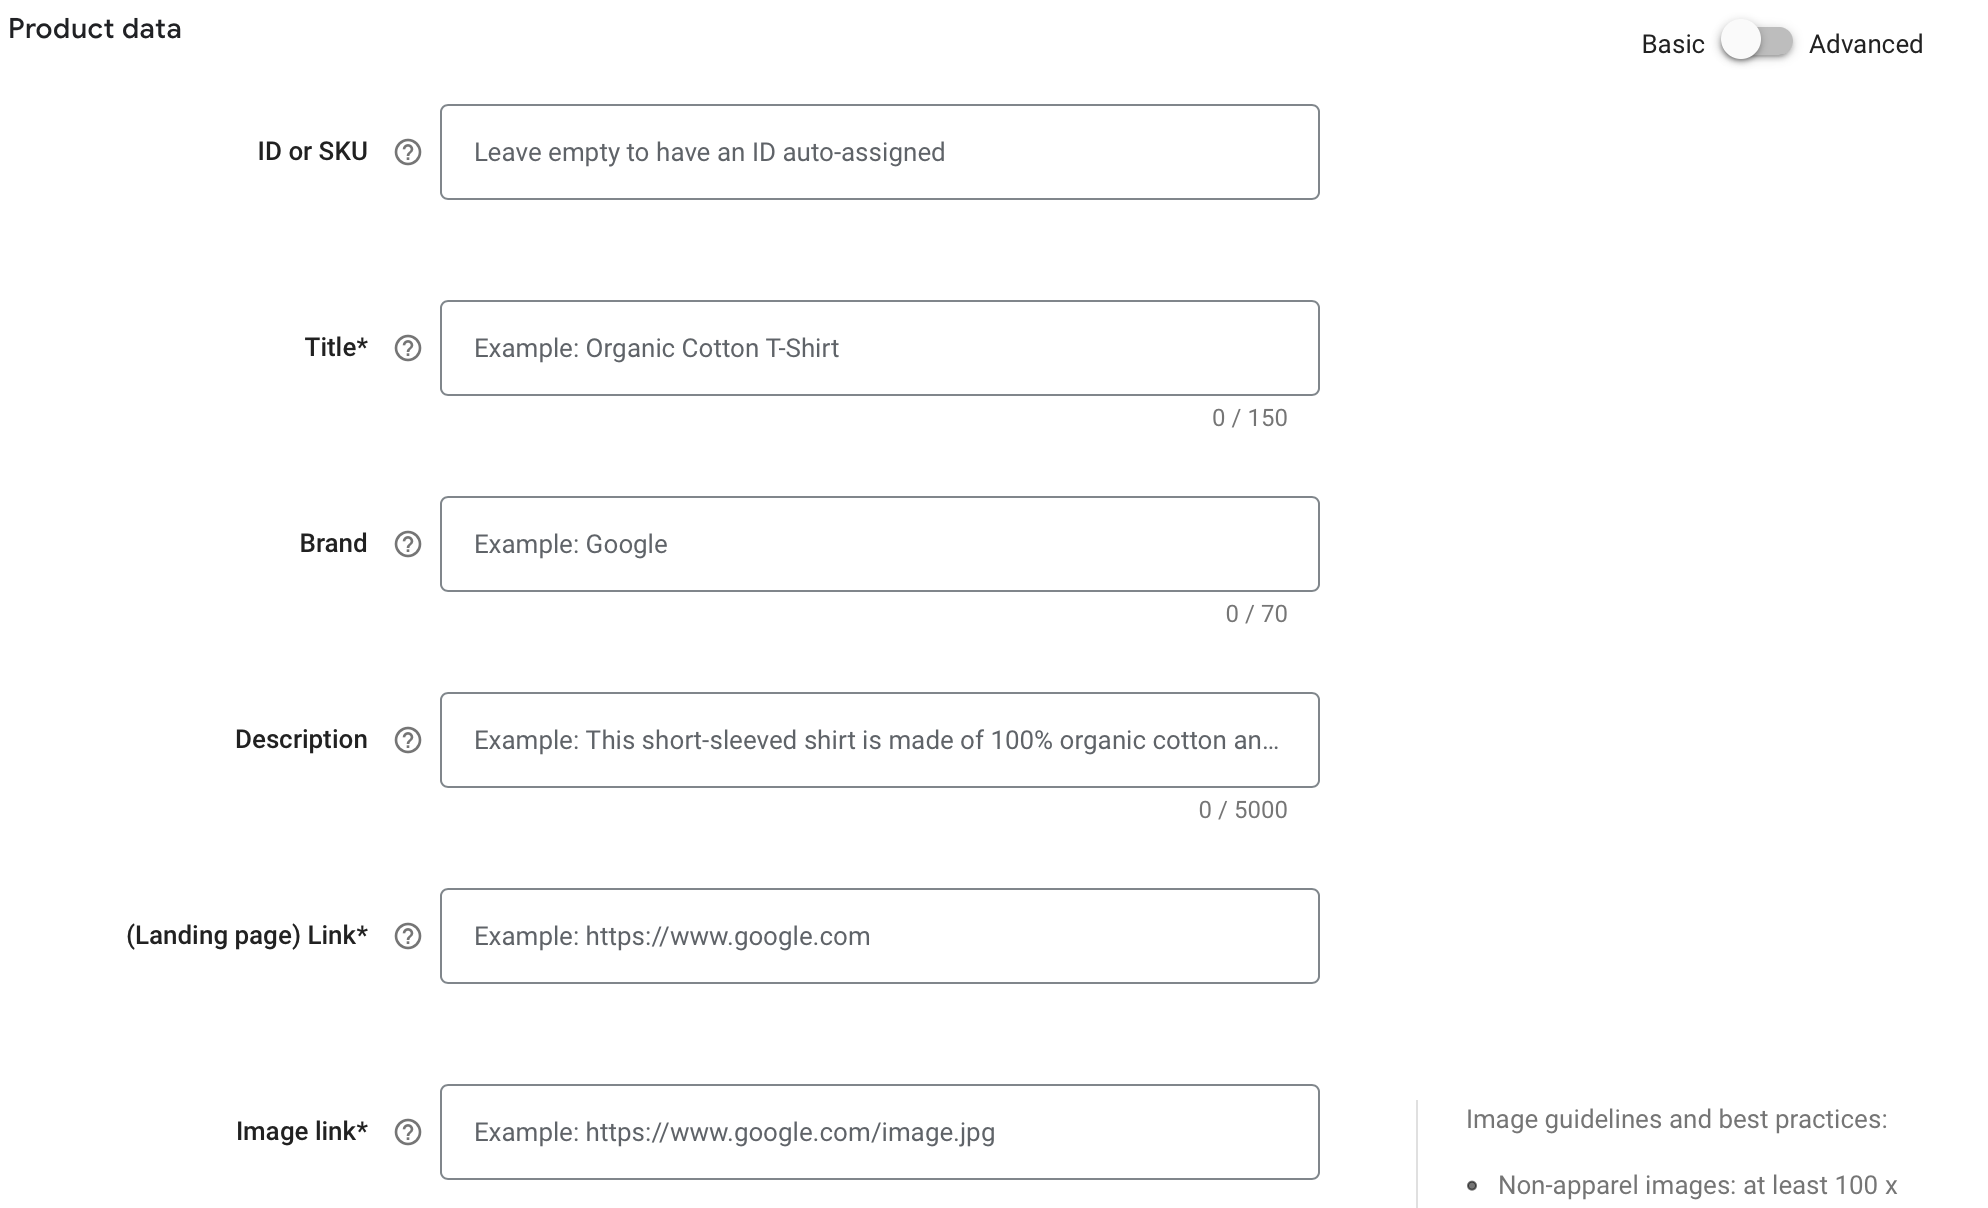
This will involve entering in all essential product information, including the product title, SKU, description, brand, price, image, and more. This is fine for businesses with only a few products, but it doesn’t scale well.
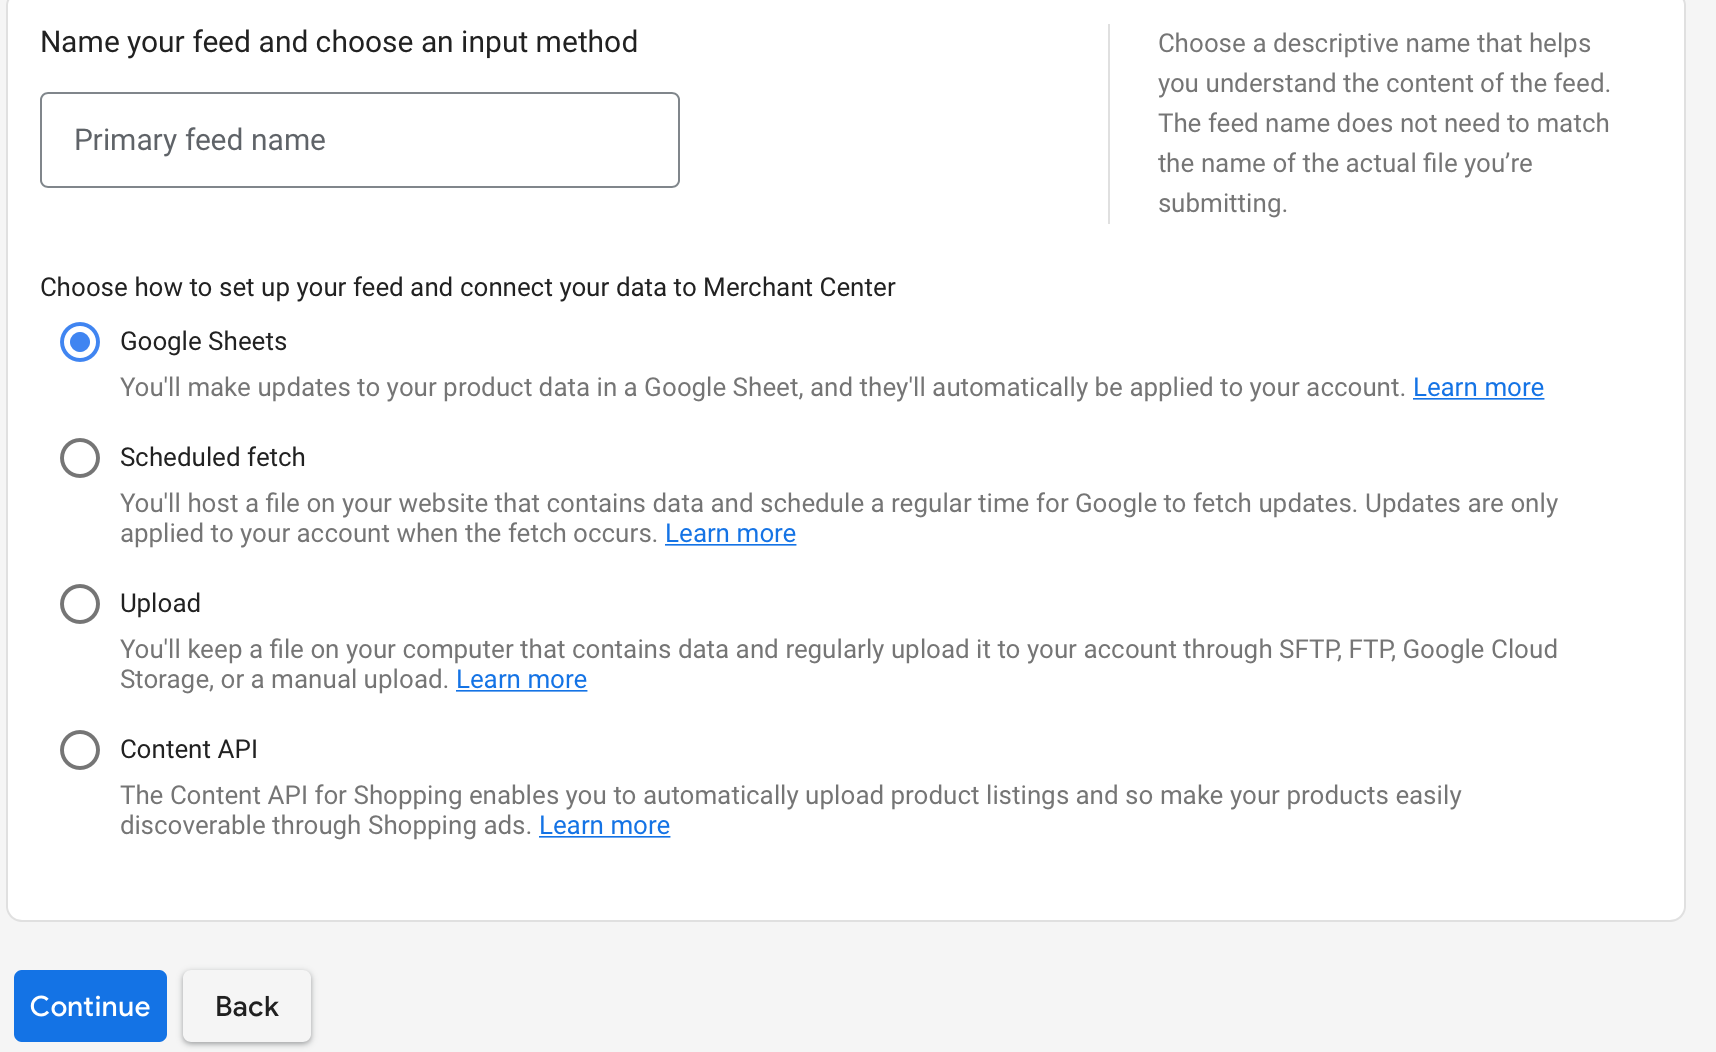
For businesses with larger inventories, other methods are more effective. These include the following:
- Uploading products through Google Sheets. This is a relatively quick upload, but you’ll need to make updates to your Google Sheets manually.
- Scheduled fetch. This allows a file on your site containing data to regularly provide Google with updates. These updates are only applied after the fetch occurs in Google’s listings.
- Upload. This allows you to upload a file on your computer to Google’s Merchant Center. This typically is easy to do but requires more manual updating.
- Content API. This API allows you to automatically upload product listings to make them easier to discover through free listings and shopping ads. You can see how to set this up here.
Final Thoughts
Congratulations! Your Google Merchant Center is entirely set up, and now you’ve hopefully got a list of products ready to start selling.
This will be an important part of selling on Google and setting up Shopping Ads, so taking the time to enter in all fields of information and to be thorough will be crucial; having the right shipping options and return policies can be the difference between a sale gained or lost.
Need help with setting up your Google Merchant Center account? We can help. Find out how we use solution-driven Google Ads services to manage your account and scale up your PPC campaigns.
